
I’m going to air some of my dirty laundry and I hope you won’t judge me! The photo above was taken yesterday morning in my hot mess of a walk-in pantry! Believe it or not, I had actually organized this pantry last January on my annual household organizing blitz, but by December, it had de-evolved into madness. Part of the problem is that I have a Costco membership! I love to buy in bulk, but the problem with that is I had acquired more stuff than I knew what to do with! So, yesterday, with an entire day set aside to reorganize this pantry, I was finally able to cut through the mess and set it to rights! And, this is what it looks like now! I am so excited that I can finally walk into the pantry without tripping over things!


Here are the steps I took in order to get it together!
Last year, I invested in some clear containers to hold items like flour, sugar, nuts, snacks. I ended up using a few different systems, but if I were to do it all again, I would use square or rectangular canisters to maximize space. I have some round containers and they take up a lot more room. For this project, I added a few extra canisters in order to house additional ingredients I had acquired. Here’s a tip: last year I purchased quite a few OXO containers at a specialty organization store. I ended up finding the same canisters at Homegoods at a bargain!

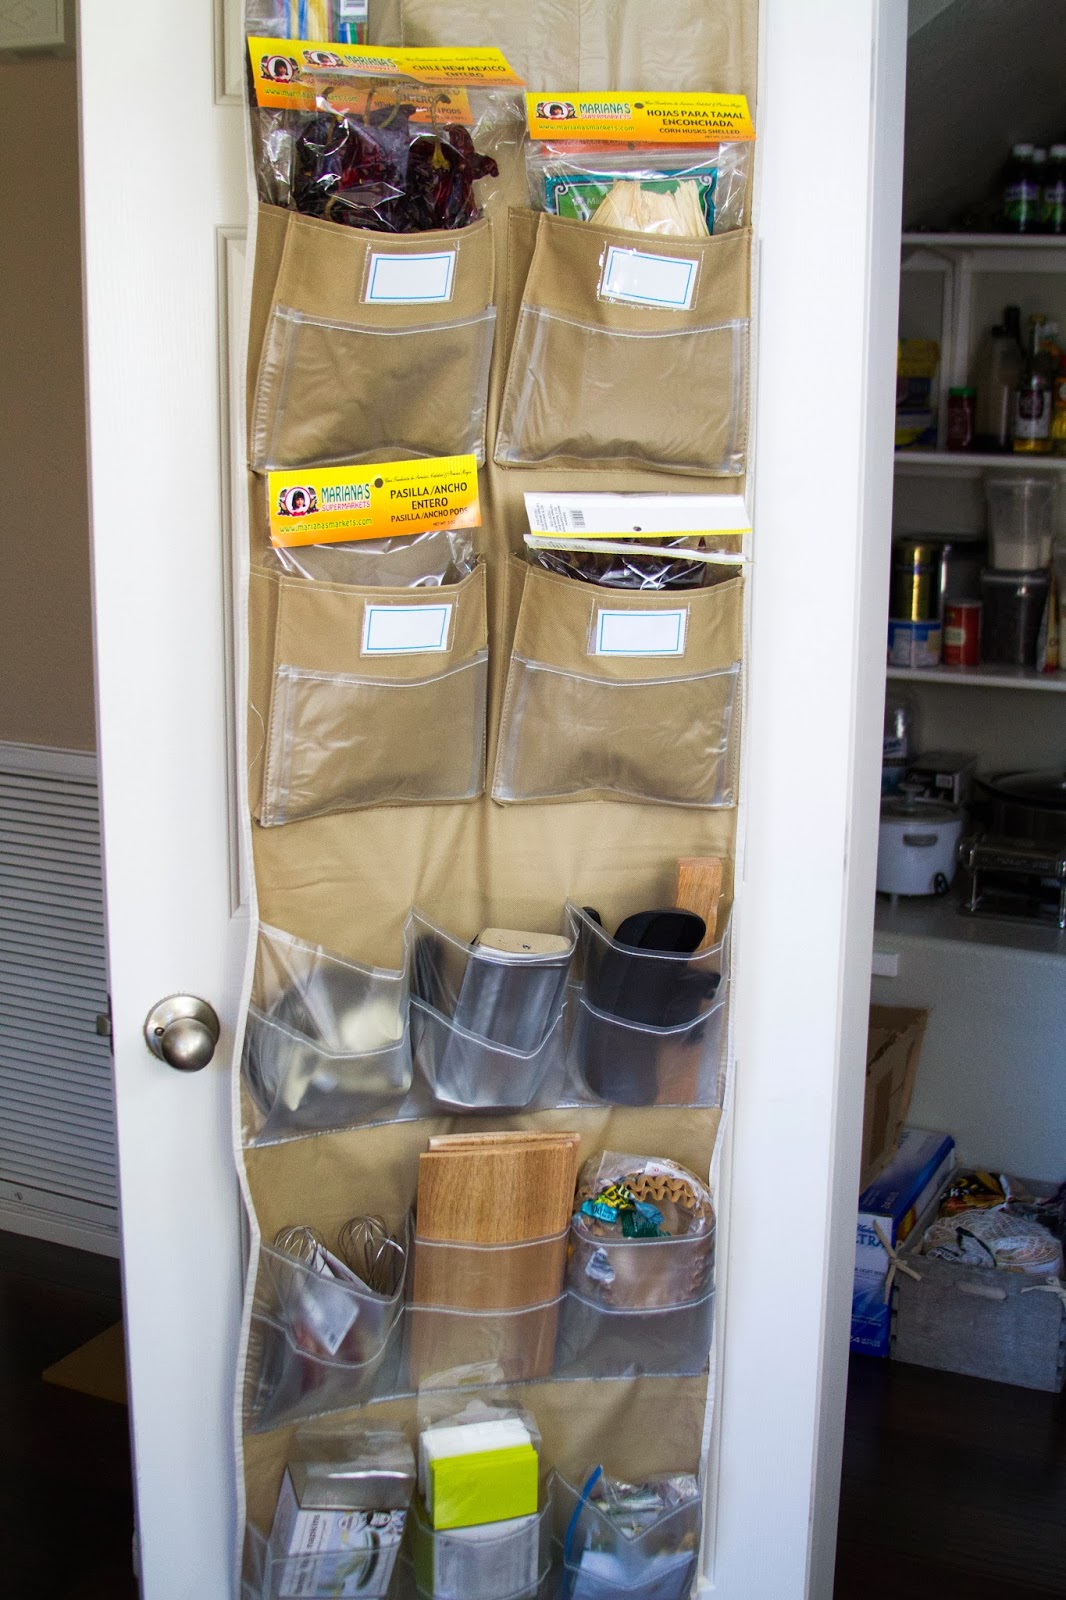
This year I picked up this hanging organizer to hold smaller items such as food processor accessories, muffin cups, cedar planks–anything that was small and created clutter went into this organizer.

1. Clear it out! I set to work moving everything out of the pantry. This was a big job and the kitchen was a disaster for a while, but you have to take it apart in order to put it back together!
2. Clean. The second thing I did was run a sink full of hot soapy water. I used dish soap with about a quarter of a cup of white vinegar. I used this to wash the shelves and to clean off any sticky bottles.
3. Purge, Purge Purge! I went through and threw out anything that had reached its expiration date and anything that hadn’t been used during the year (with the exception of canned goods).
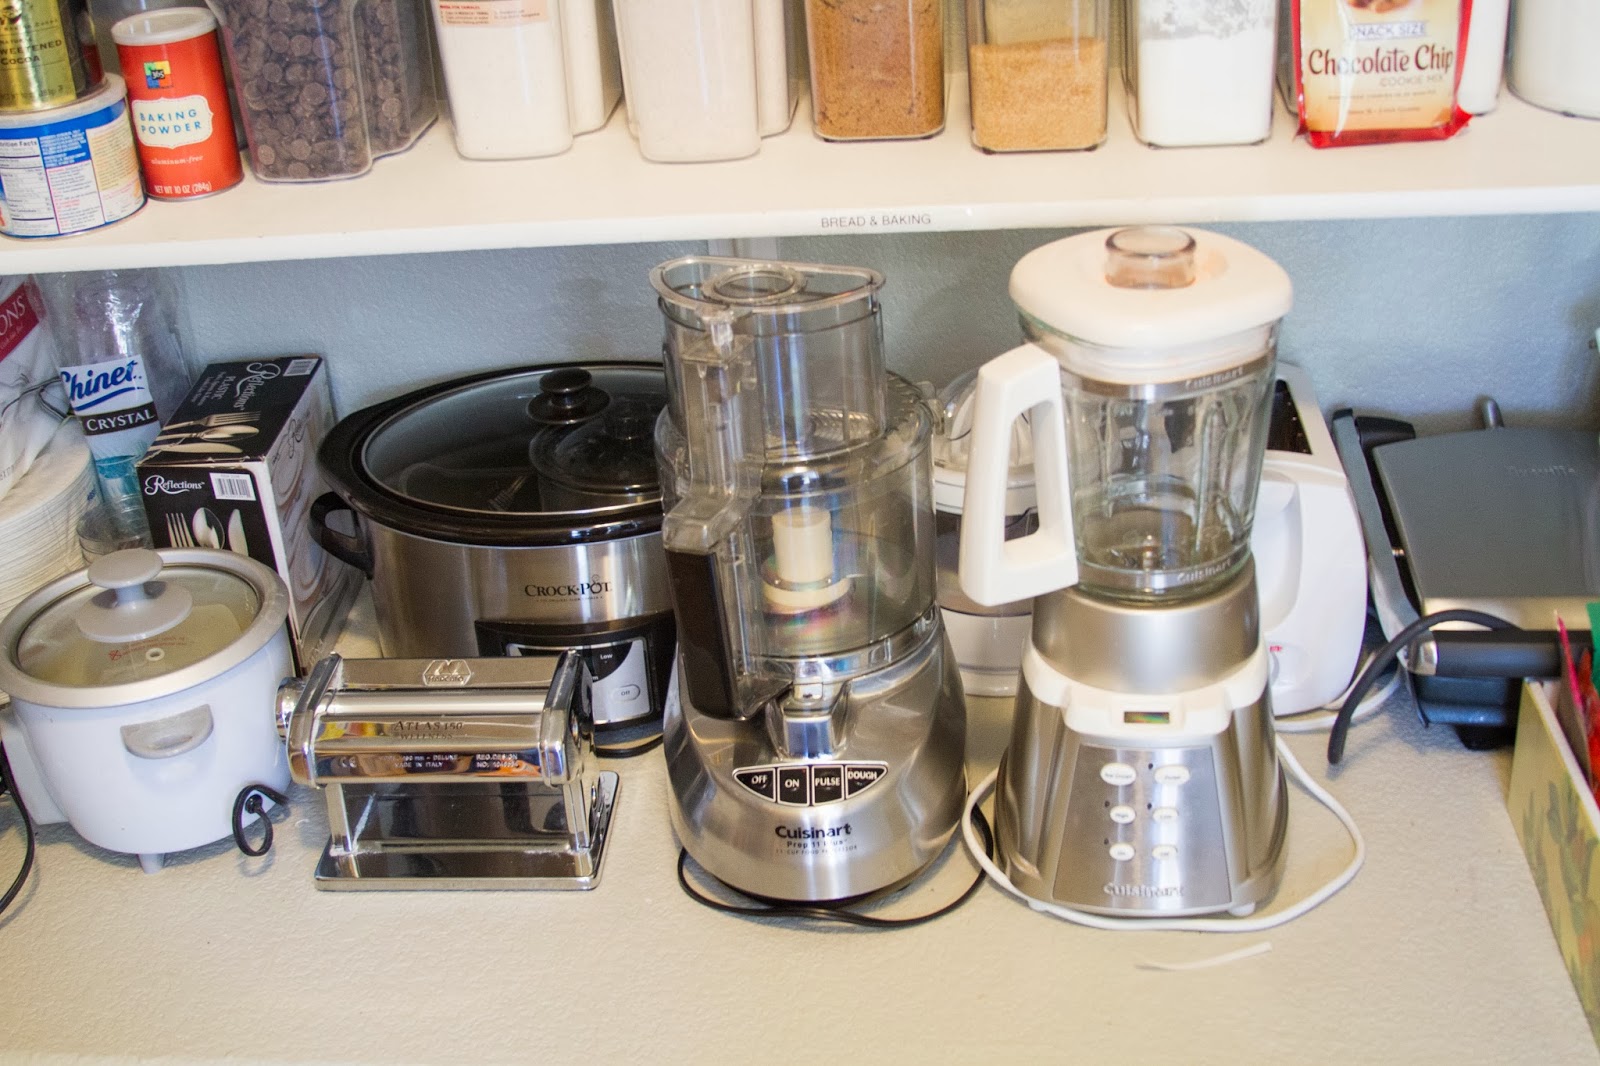
4. Categorize. I designated each shelf into a distinct category. Canned goods and preserves, bread and baking, pasta and grains, oils and vinegars, cereal, snacks and, of course, spirits! Not everything fit perfectly in these categories, like, vitamins for instance, ended up in the snack section; but I know if I don’t keep my vitamins near the kitchen, I won’t take them. I tried to be as logical as possible with the categories.
 |
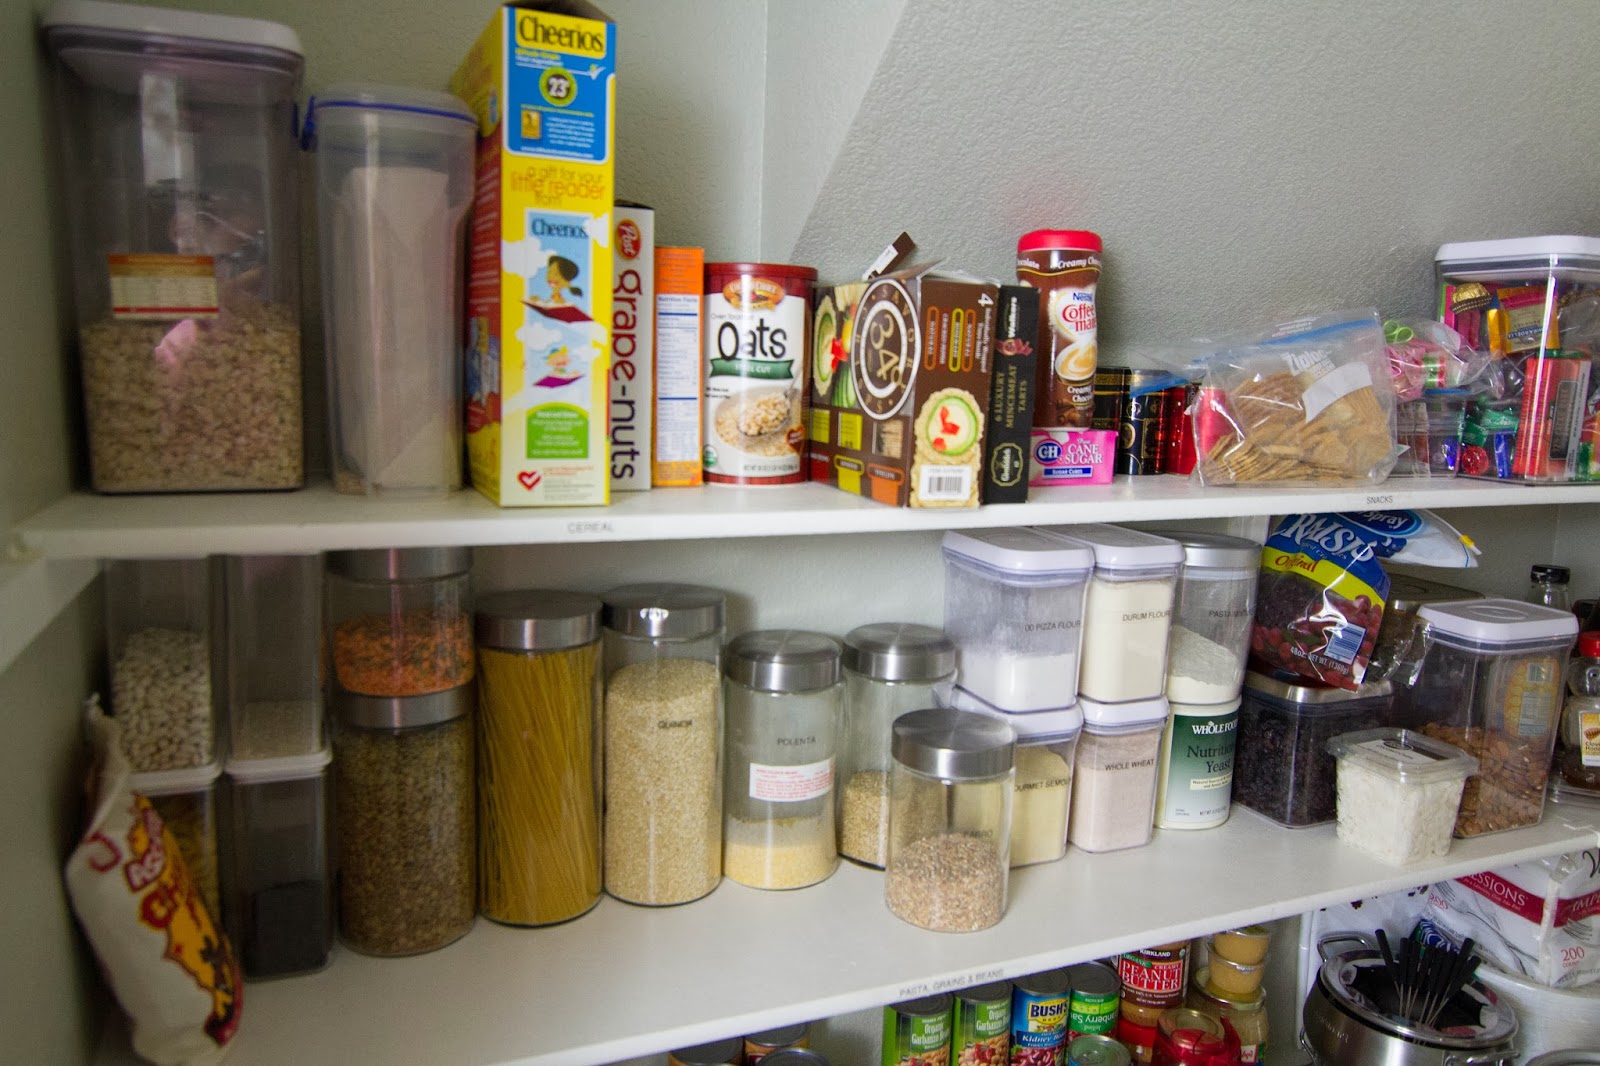
| Pasta, Grains and Beans Shelf |
 |
| Canned goods |
5. Label. Everything that wasn’t painfully obvious got a label. I even labeled the shelves–ok, maybe I went a little overboard with the labeler, but it was fun! If an item had specific instructions on how to prepare it, I cut the instructions out and taped them to the canister.
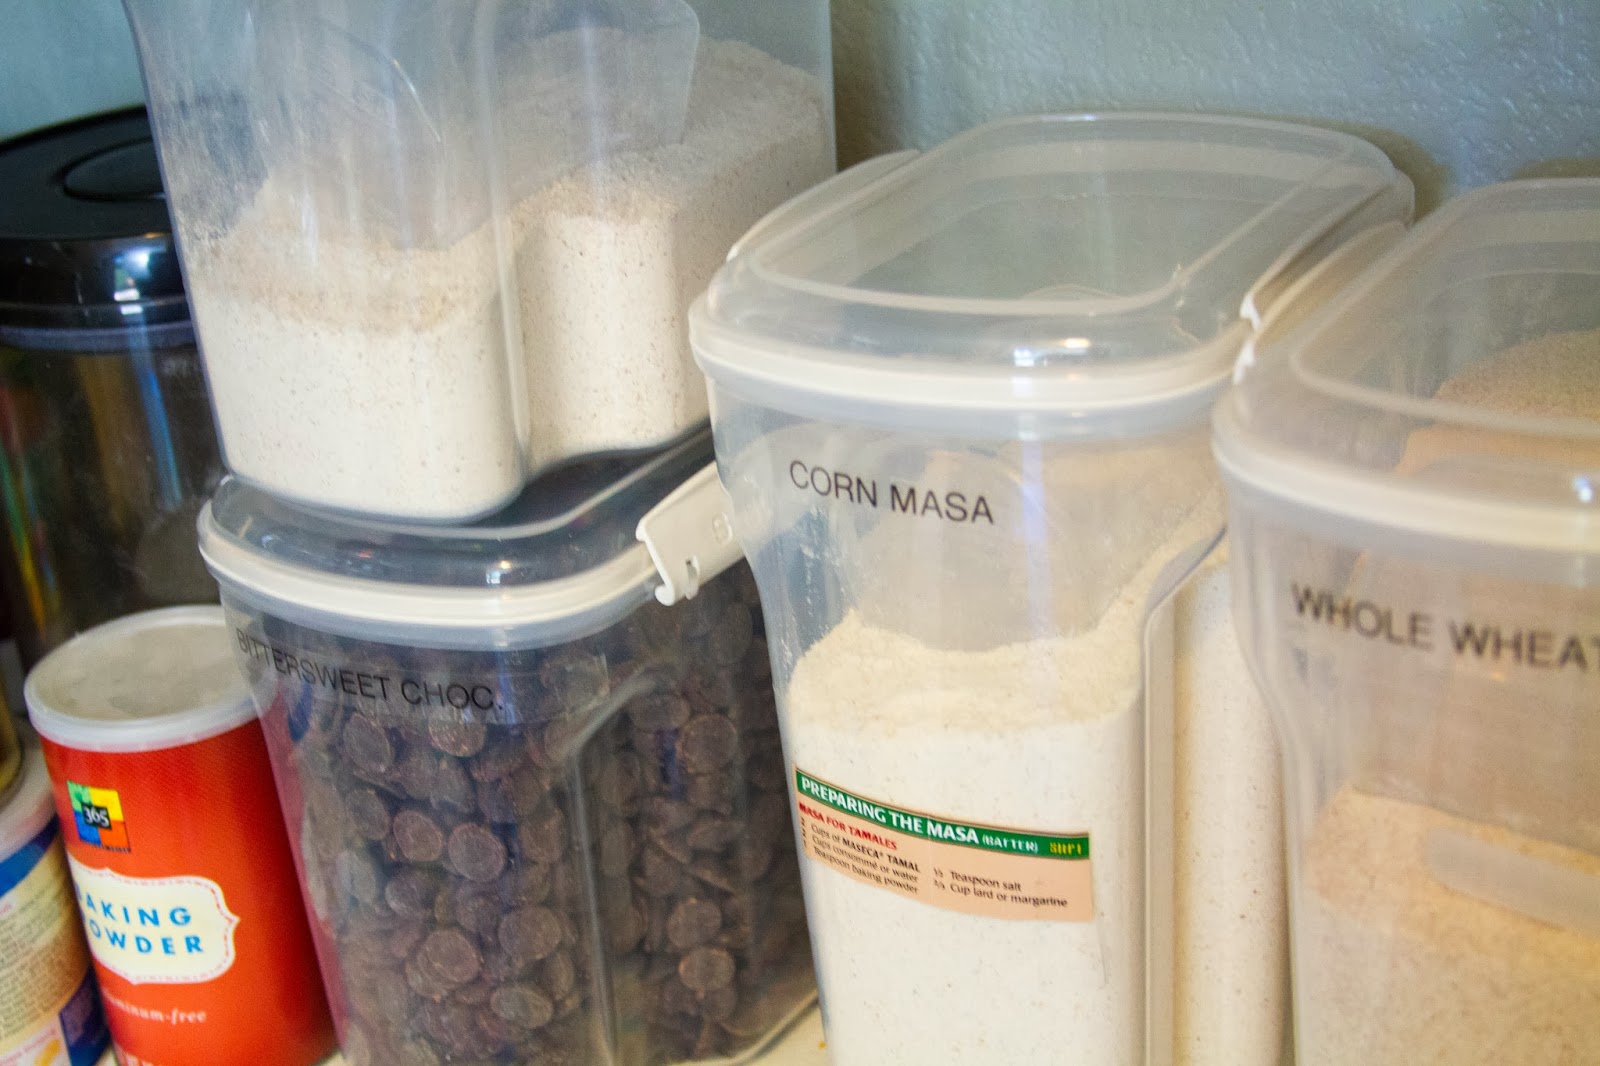 |
| Affix specific package instructions when needed |
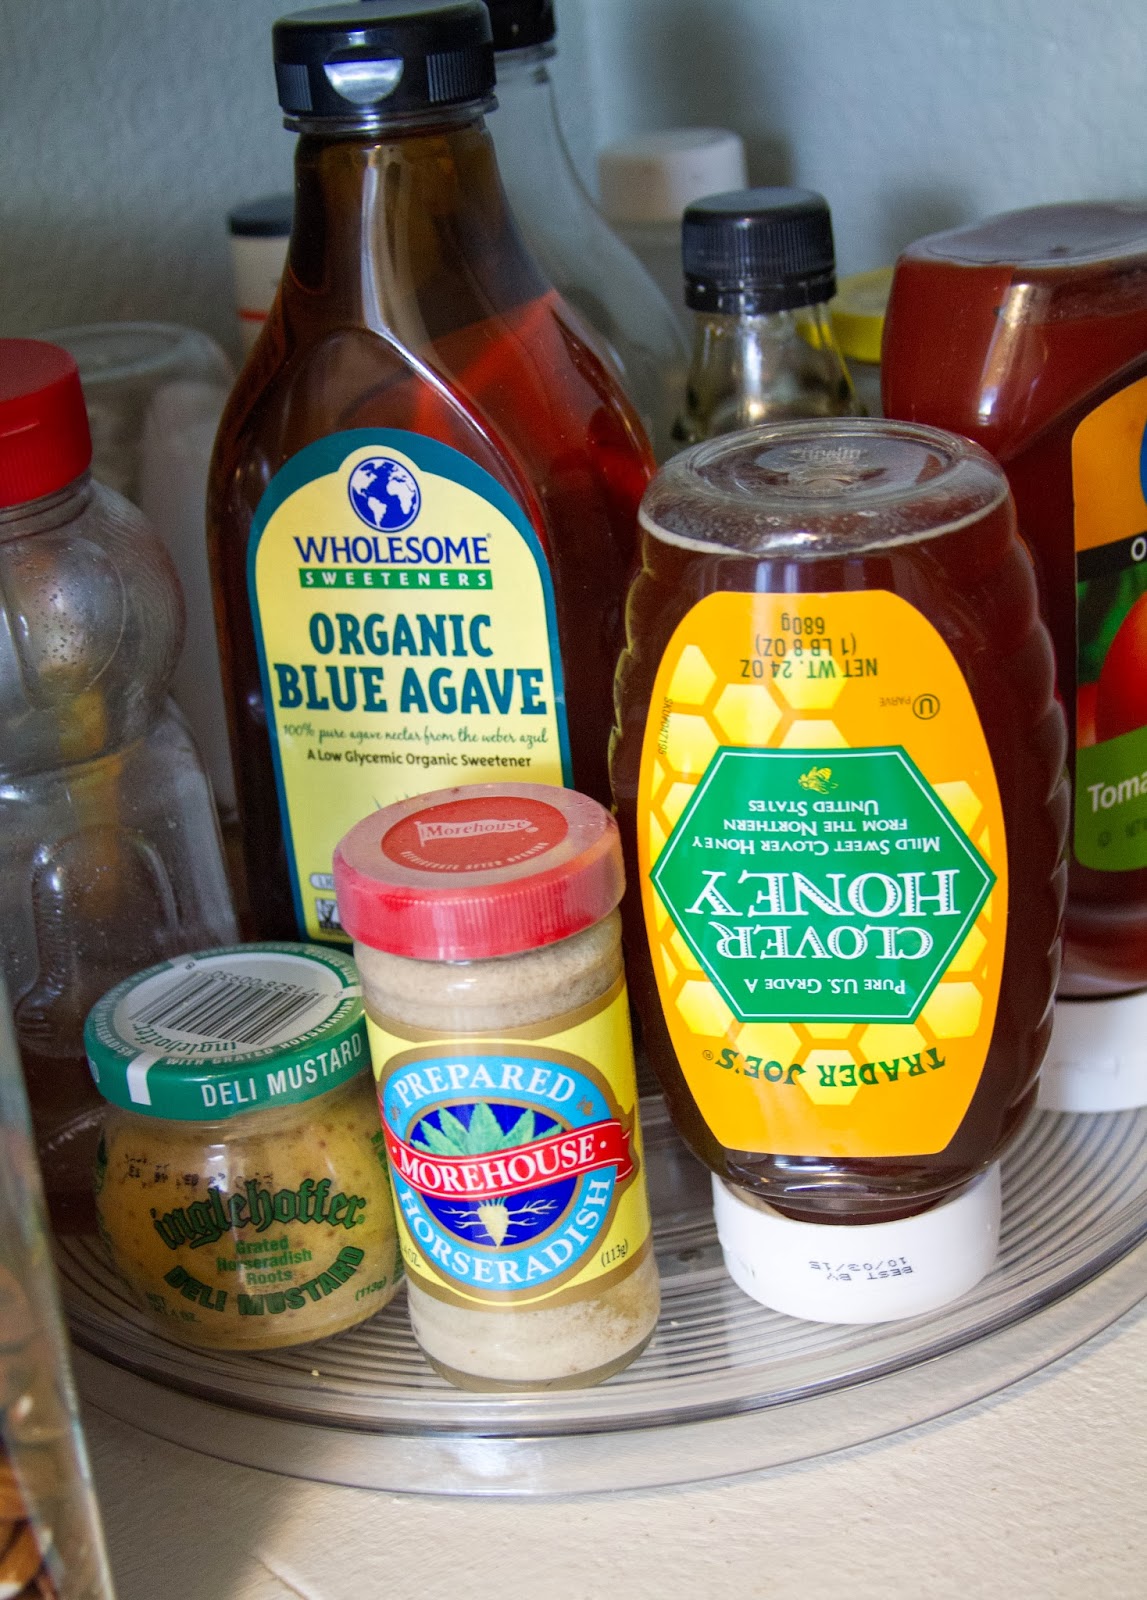 |
| All of the sticky things were placed on an acrylic lazy susan. This keeps them off of the shelves and easy to access. |
 |
| I can see the floor again! |
I am so happy to have an organized pantry again! Now I can find things easily and know when I need to replace items that are running out. It also keeps me from over-buying things that I already have! I hope my story inspires you to tackle your biggest disaster area!


Can you even believe that I’m functioning without a pantry? Our house was built in 1958, I guess that’s pre-pantry years. You did a great job and now it’s time for the hard part…….keeping it like that. 🙂
Thank you Christina! And you are so right–keeping it organized is the hard part! So far, so good! You must be doing just fine without a pantry–all that goodness that you make every day! But hey, if there’s room, maybe you can convince your honey to build you one!
Pingback: This Orderly Conduct: Reorganizing my Closet, plus A Stellar Grain Bowl | Salty Sweet Life