Latest Posts

The Year I learn to Bake: Salted Dark Chocolate Chip Cookies

IMG_0337

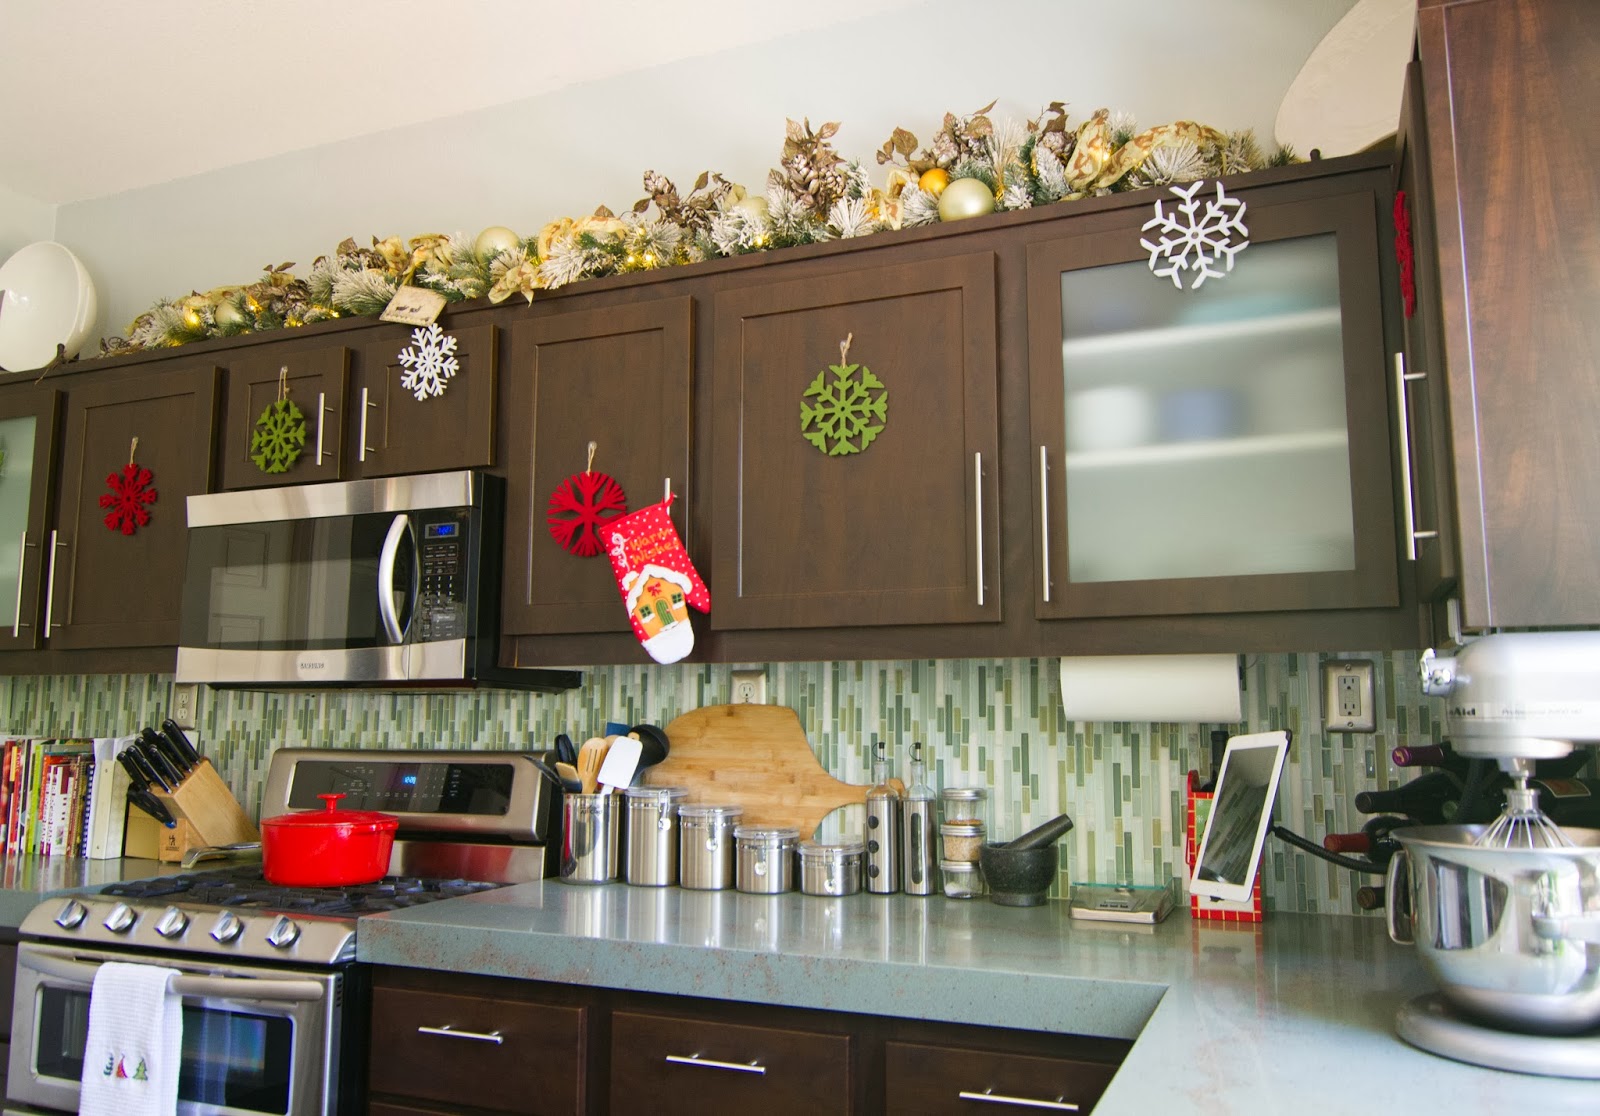
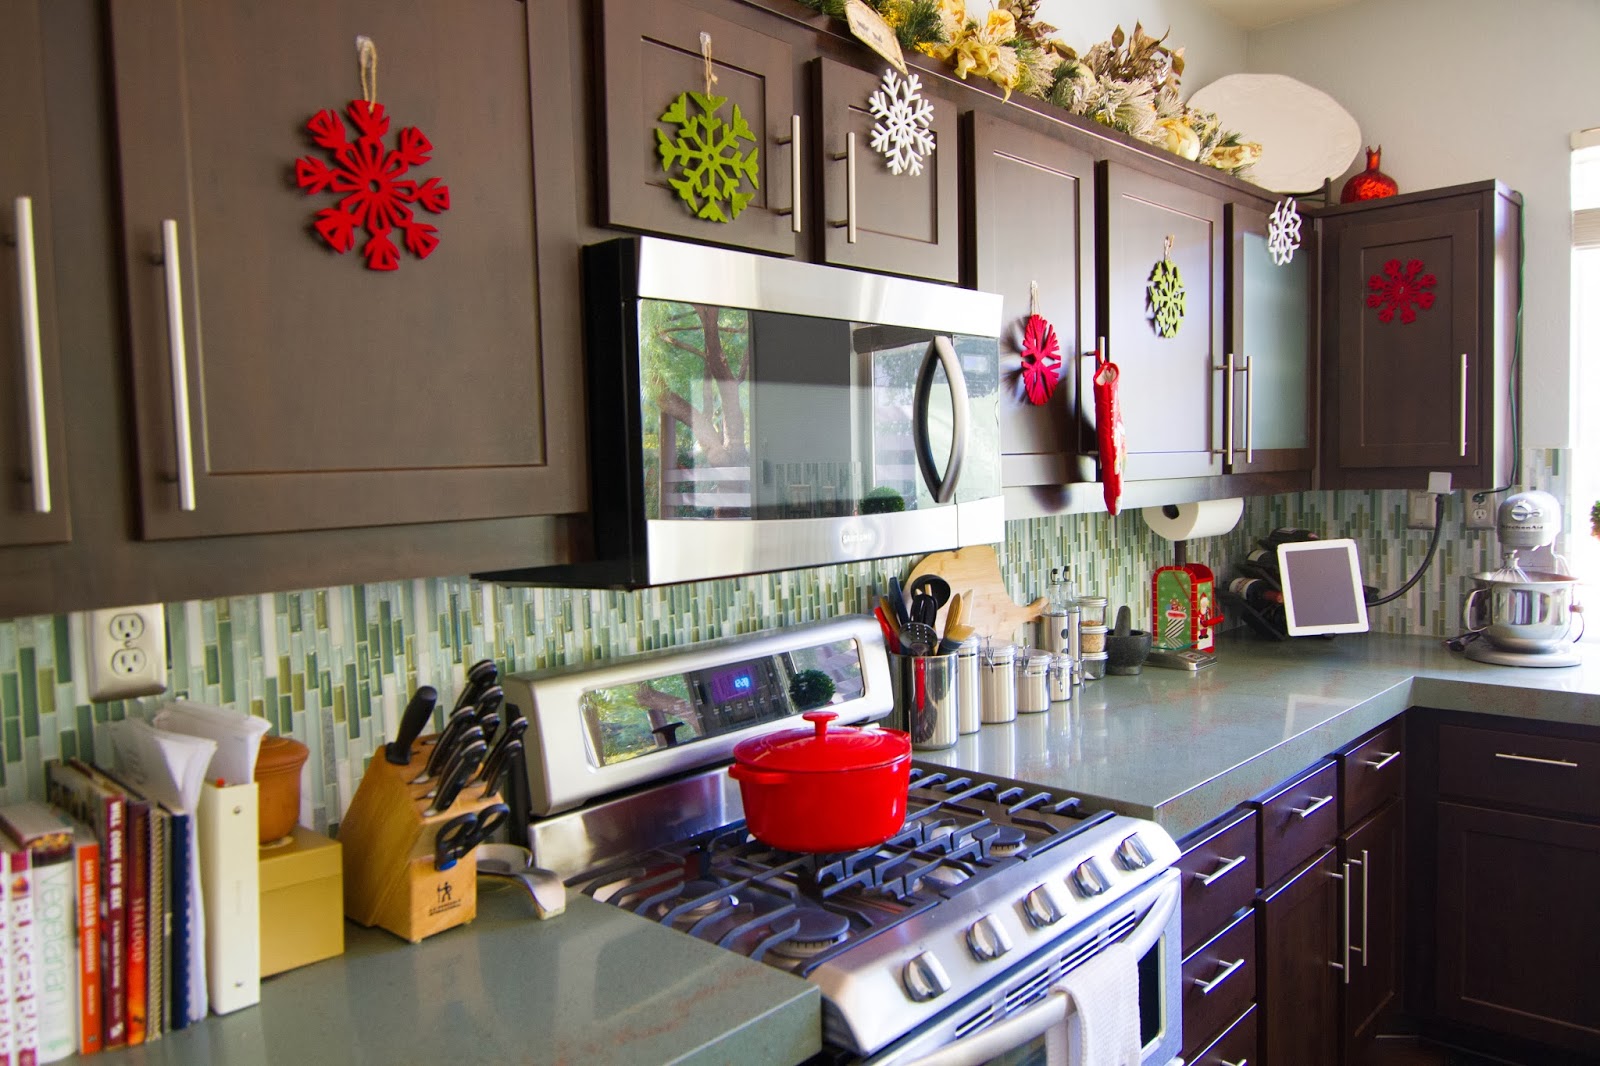
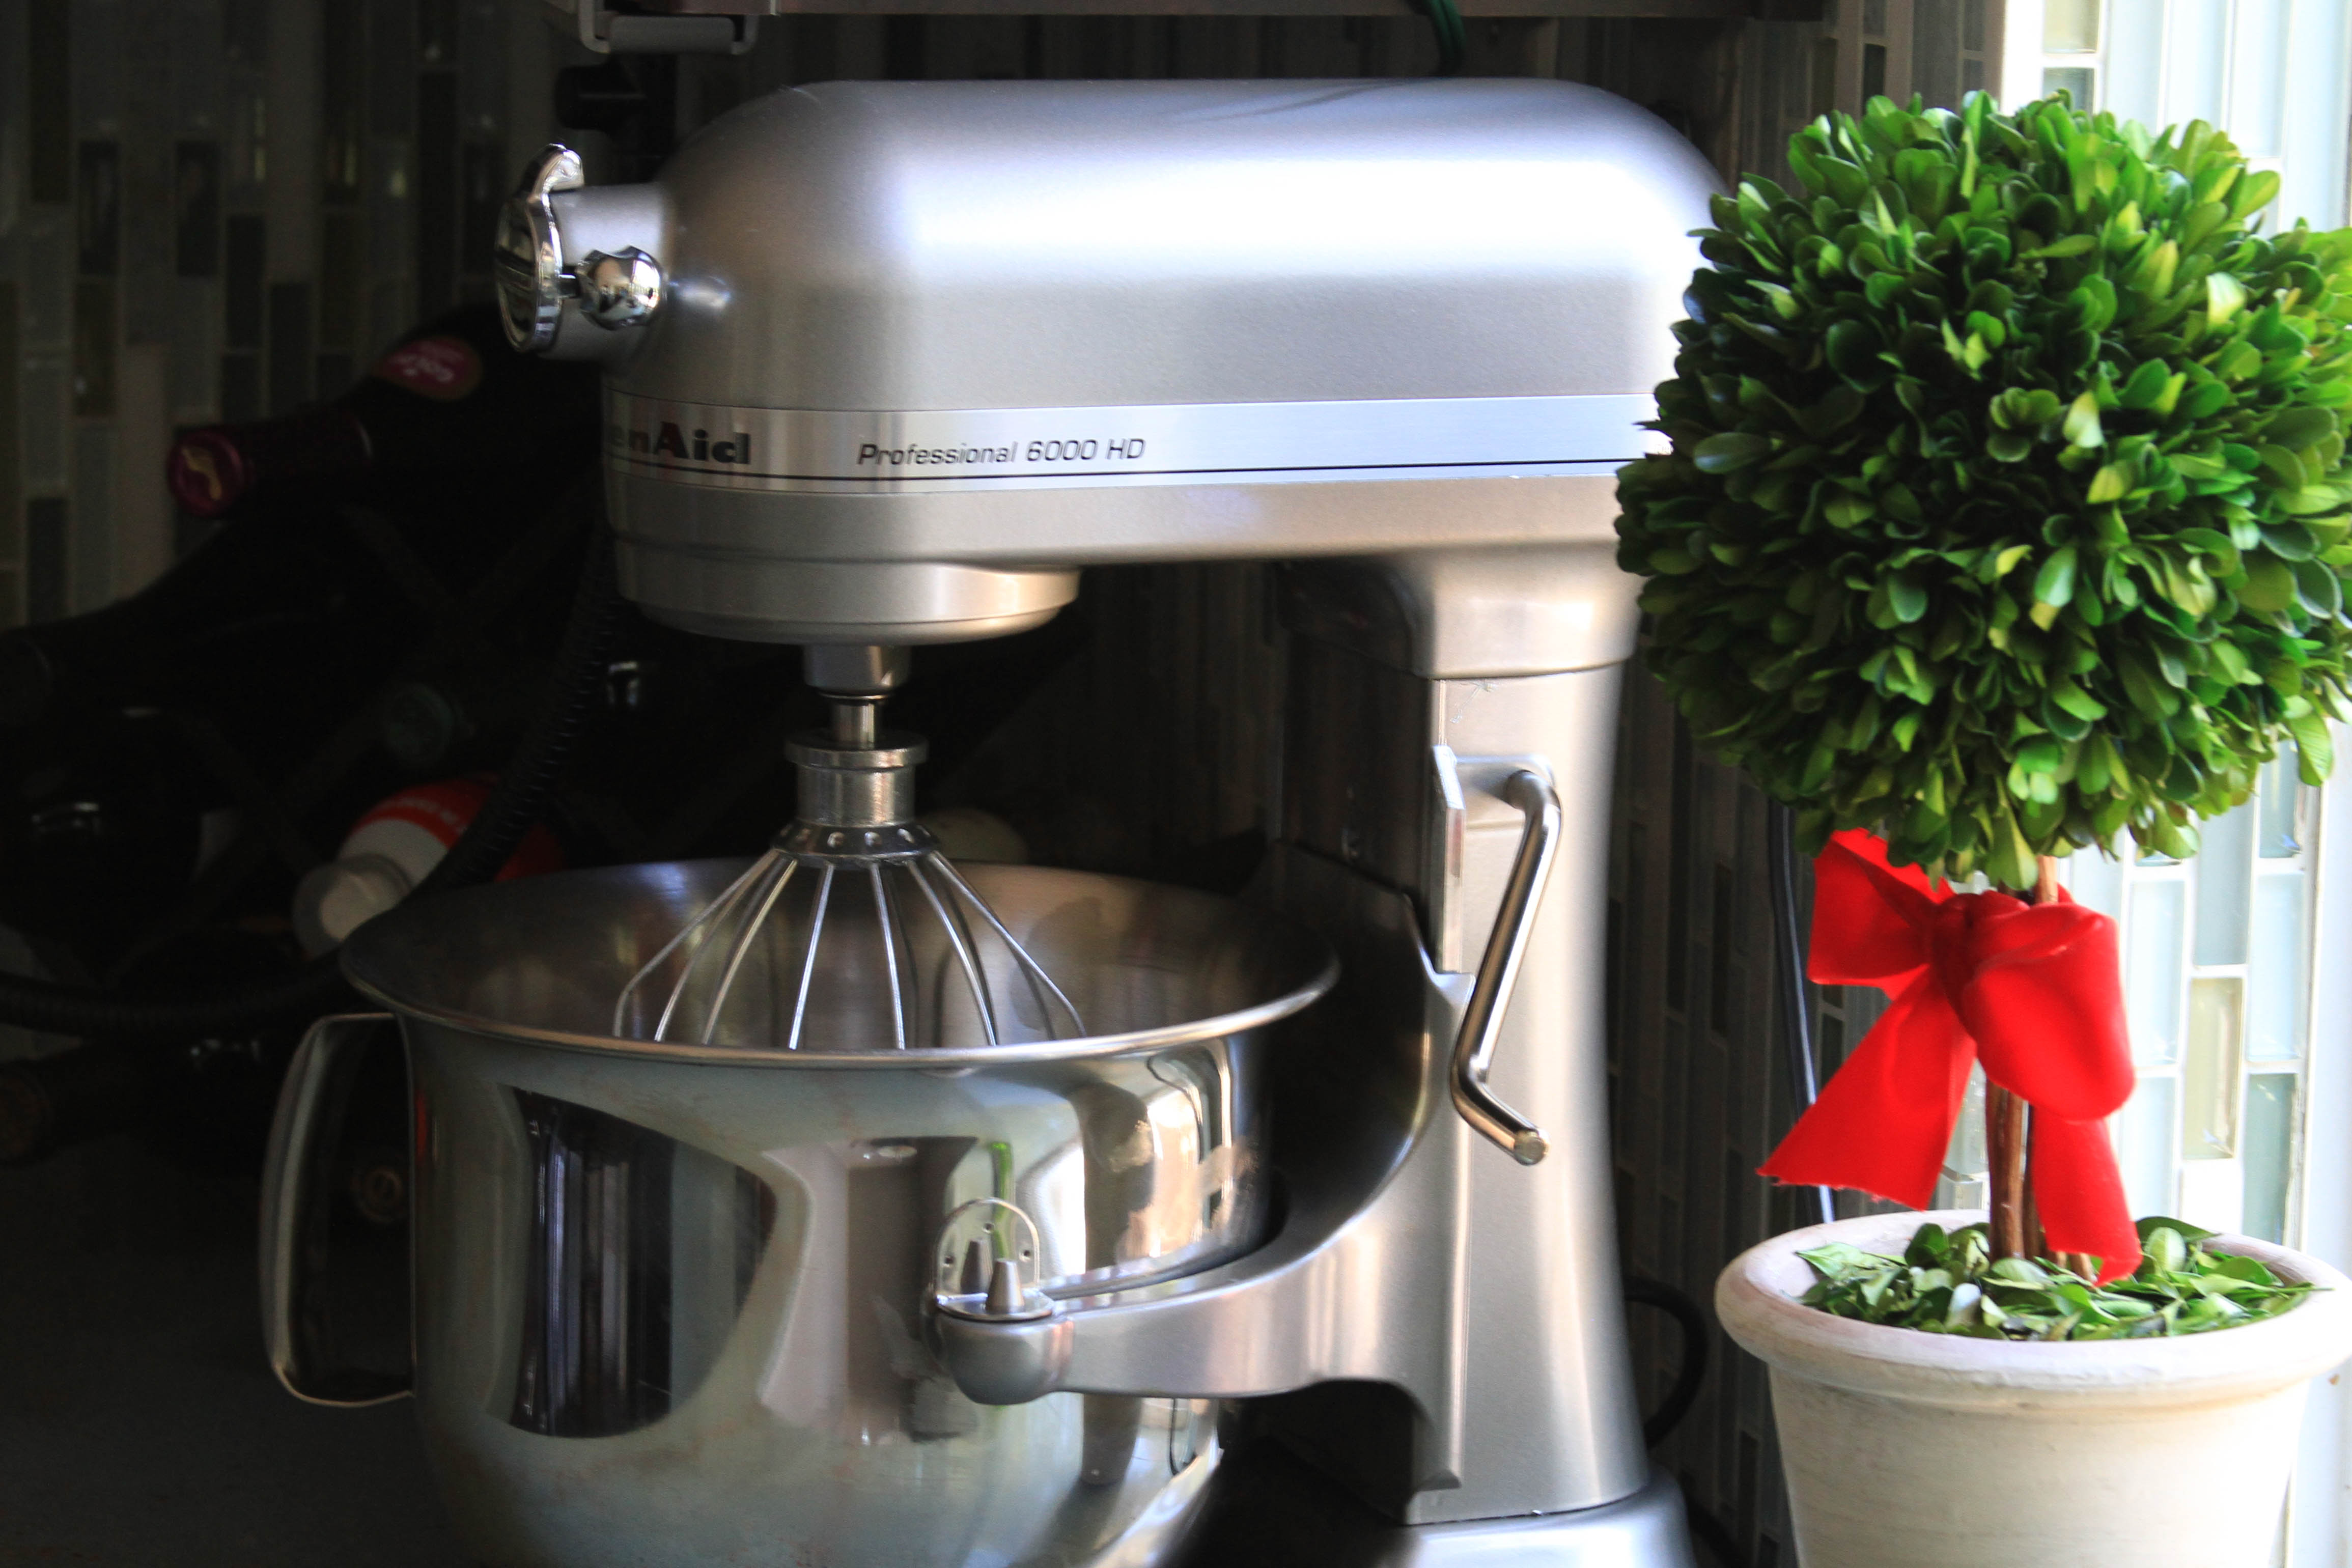
It’s been nearly a week since moving my blog to WordPress and it has been a learning experience, let me tell you!  I’ve been so busy setting everything up that I haven’t even had time to cook!  I finally just had to tear myself away from the computer for a little while tonight and get in the kitchen!  Now, a couple of weeks ago, I introduced you to my New Friend in the Kitchen, my KitchenAid stand mixer!  Oh my goodness, I cannot believe that I have survived for so long without this machine!  For years, I’ve admired them, but never bought one because, well, I simply didn’t think I did enough baking to justify it. Well, I could not have been more wrong.  So far, I’ve used the mixer to make masa for tamales and several batches of pizza dough (we like pizzas around here) and these amazing salted dark chocolate chip cookies! I am now a true believer in the power of the mixer and I am loving it!

Now New Year’s Resolutions are not really my thing, but this year, I really told myself that I wanted to concentrate on learning how to bake.  Being the daughter of a non-baking mother, I just never learned the art of it and for a long time, I even feared it.  But this year is going to be different and I have the KitchenAid to thank for that!

With the husband away on a business trip, I decided to try my hand at baking these chocolate chip cookies that I found on the Food52 website and had pinned onto my Pinterest “Baking” board.   What I liked about this recipe is that it didn’t try to re-invent the wheel–just a straight-forward chocolate chip cookie with the emphasis on an almost Zen-like attention to the mixing process.  Believe me, after the week I’ve had, I needed to do something meditative and if cookies will get me there, then so be it!  I think I can get on board with this…cookies…meditation…chocolate…

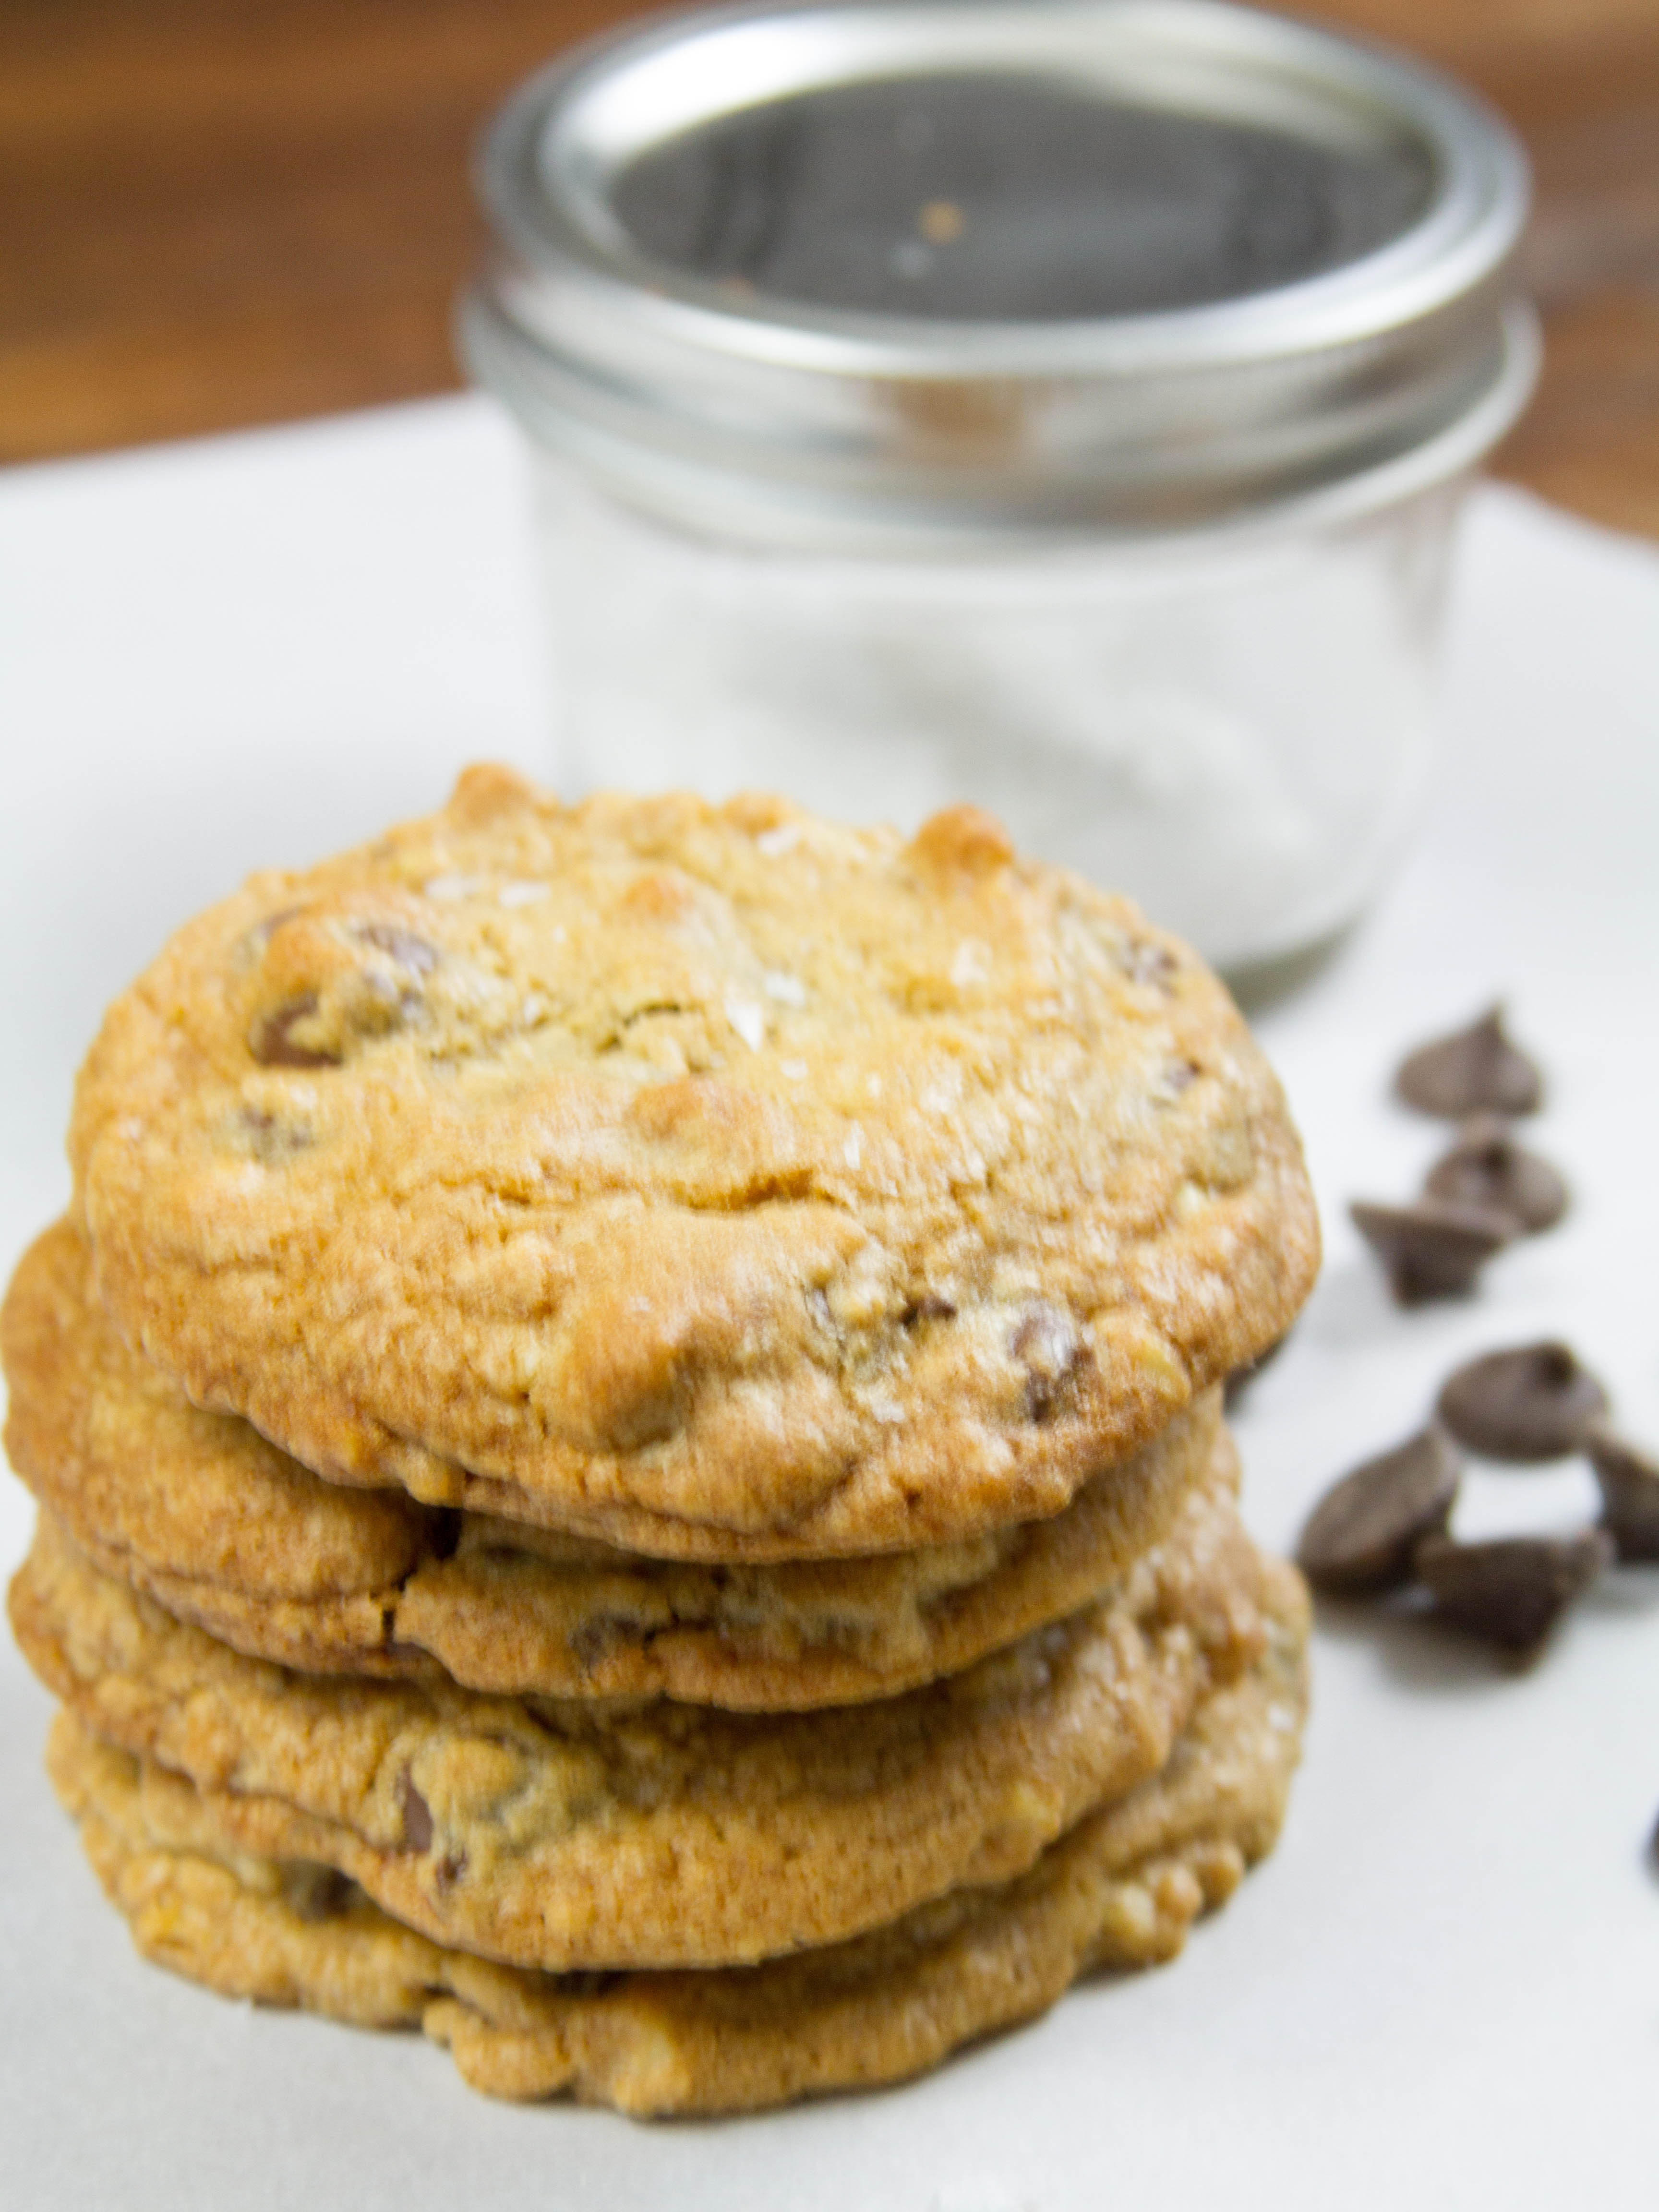
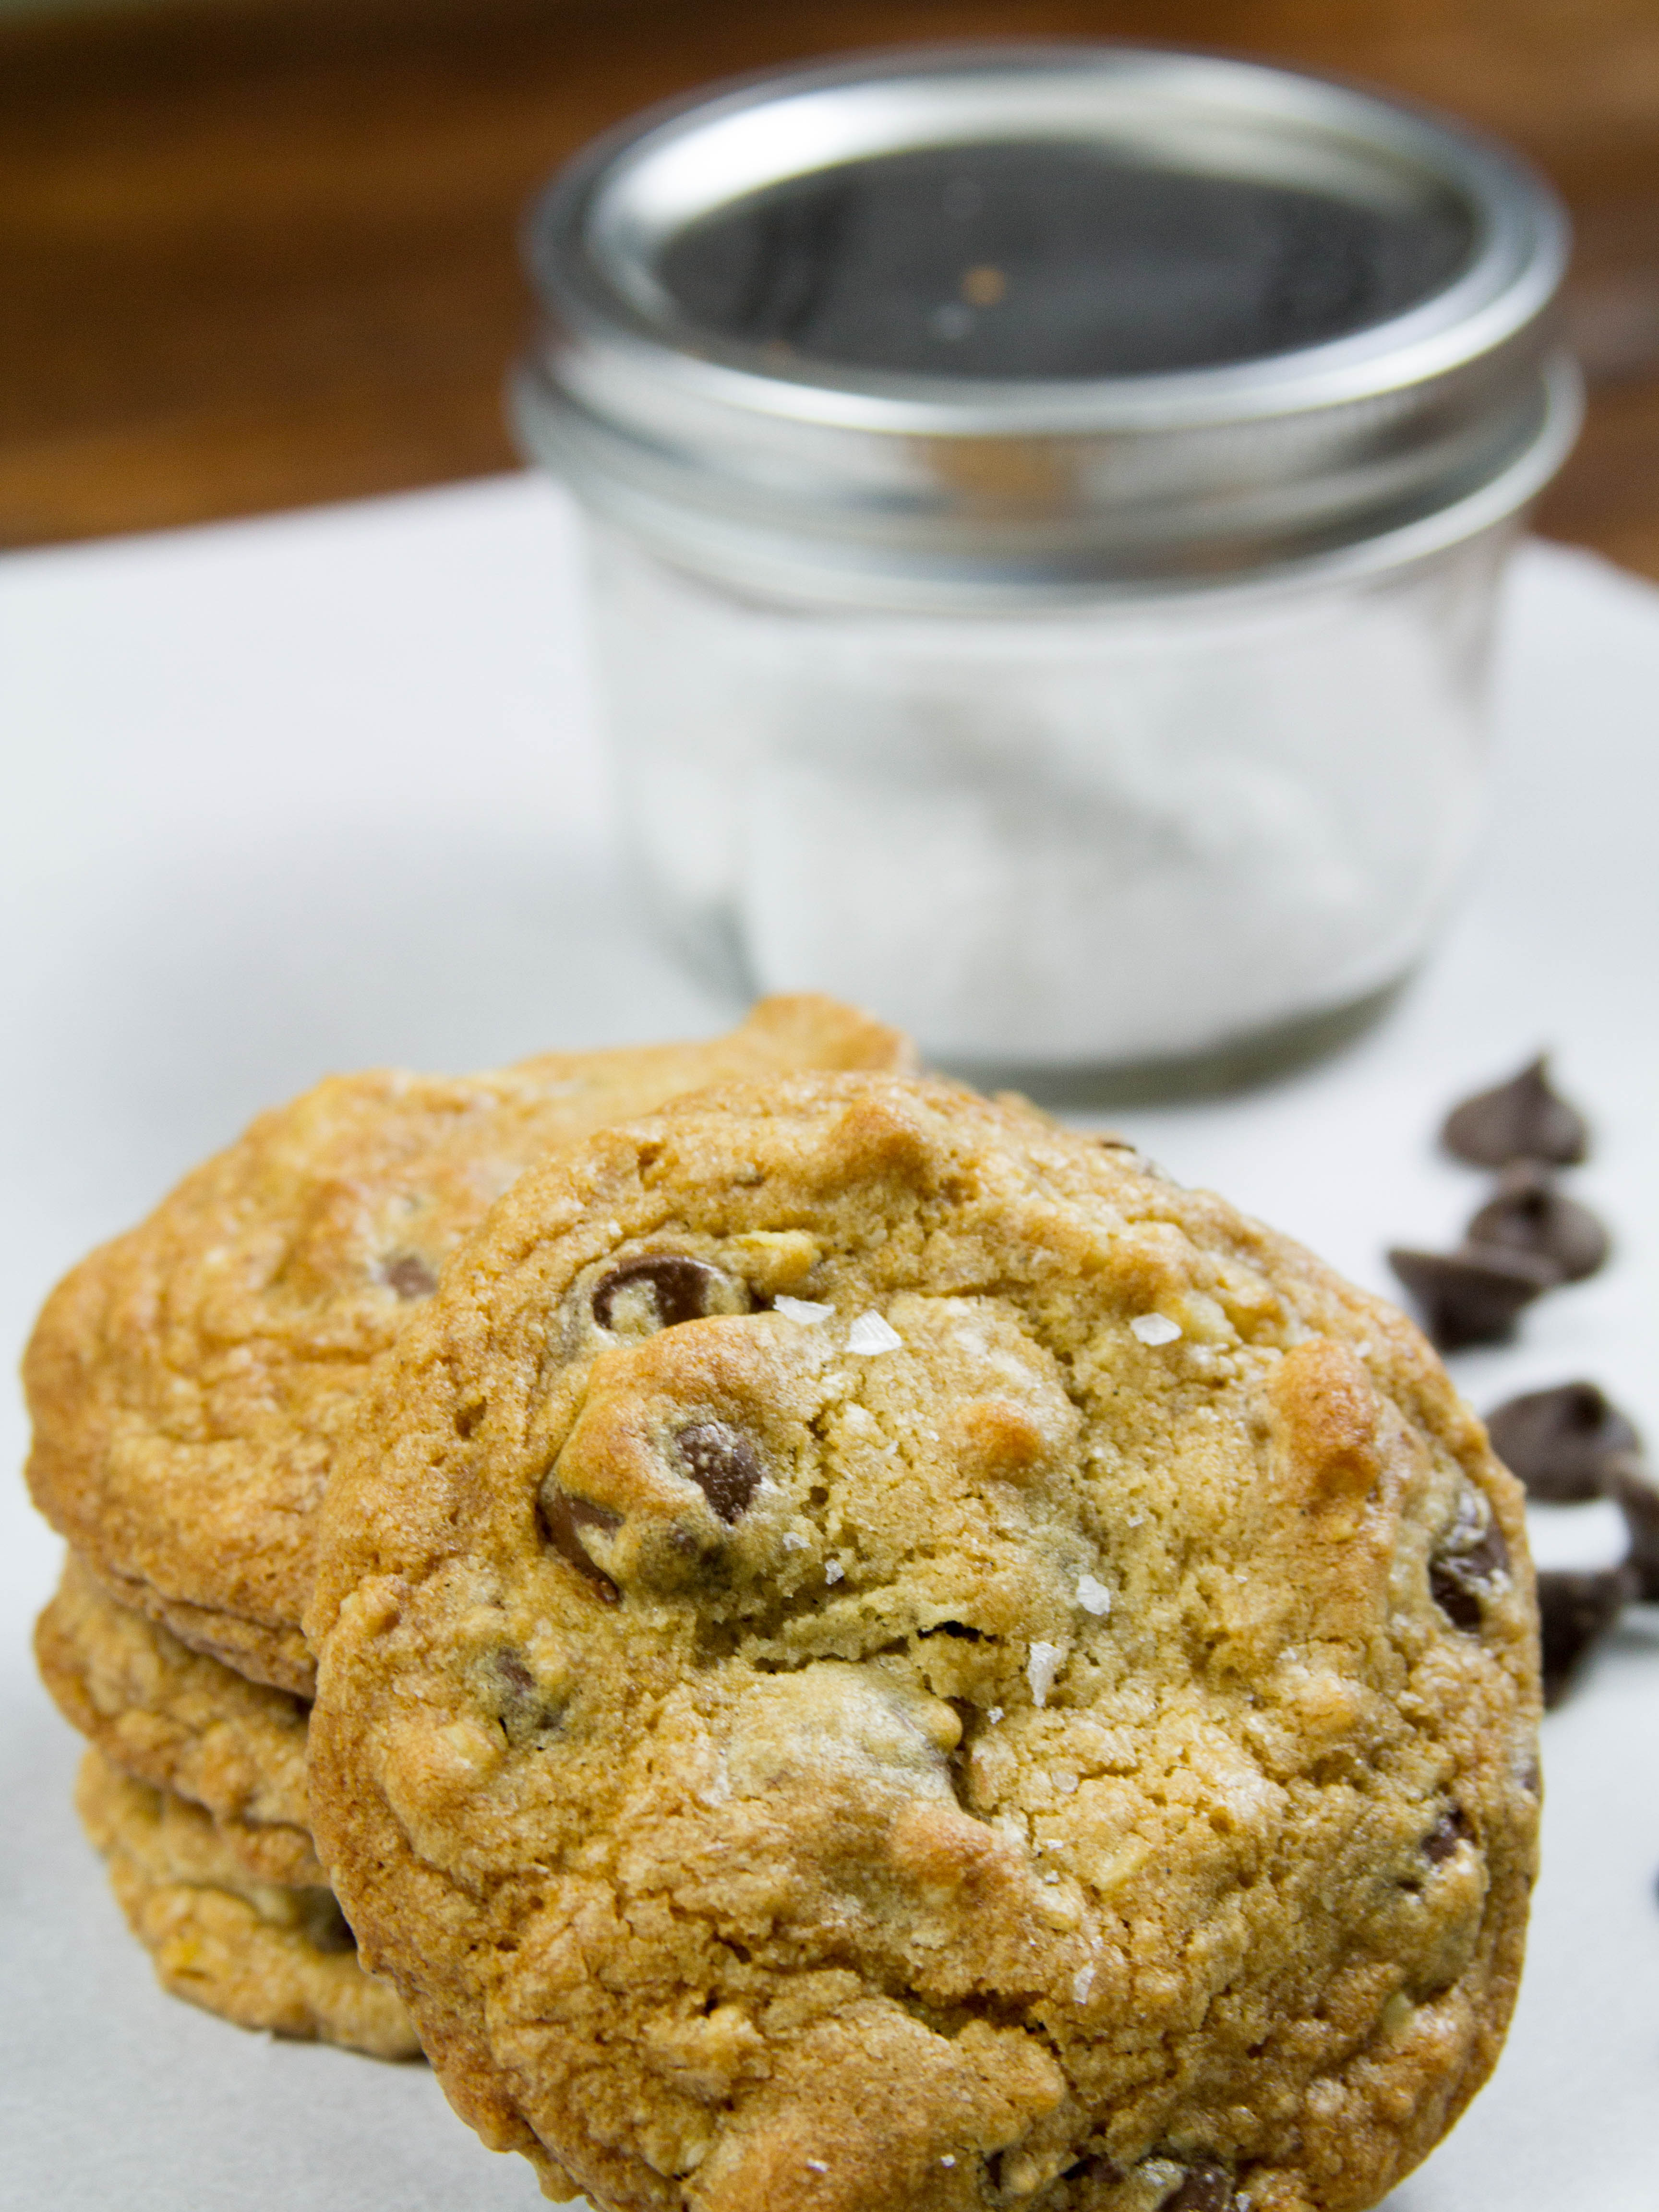
The author of the recipe put a lot of emphasis on mixing the ingredients slowly and almost methodically.  I truly believe that this careful mixing resulted in an altered state of cookie awesomeness!  These cookies were rich and decadent and stayed soft and chewy the day after they were baked!  I have never been able to achieve this level of cookie Nirvana before!  I made a few small alterations to the original recipe.  I did not use nearly the amount of chocolate chips that the original recipe called for and I used only Ghirardelli bittersweet chocolate chips. Since I am a big fan of salted dark chocolate, I sprinkled each cookies with a few grains of Maldon Sea Salt.  The salt balances the sweetness of the cookie and brings a lot of depth to the flavor.

IMG_0262

Salted Dark Chocolate Chip Cookies

  • Servings: 24 large cookies
  • Difficulty: easy
  • Print

Credit: Phyllis Grant of Dash and Bella
Preheat oven to 375 degrees

Ingredients:

  • 2 1/8 cups all purpose flour
  • 1 teaspoon baking soda
  • 1/2 teaspoon kosher salt
  • 2 sticks unsalted butter, room temperature
  • 1 cup packed brown sugar
  • 1/2 cup white sugar
  • 2 teaspoons vanilla extract or vanilla bean paste – I used vanilla bean paste
  • 2 eggs
  • 1 1/2 cups walnuts, chopped finely
  • 1 1/2 cups bittersweet chocolate chips
  • Maldon Sea Salt Flakes
  1. Sift the flour, salt and baking soda in a mixing bowl and set aside.
  2. Combine the chopped walnuts and chocolate chips and set aside.
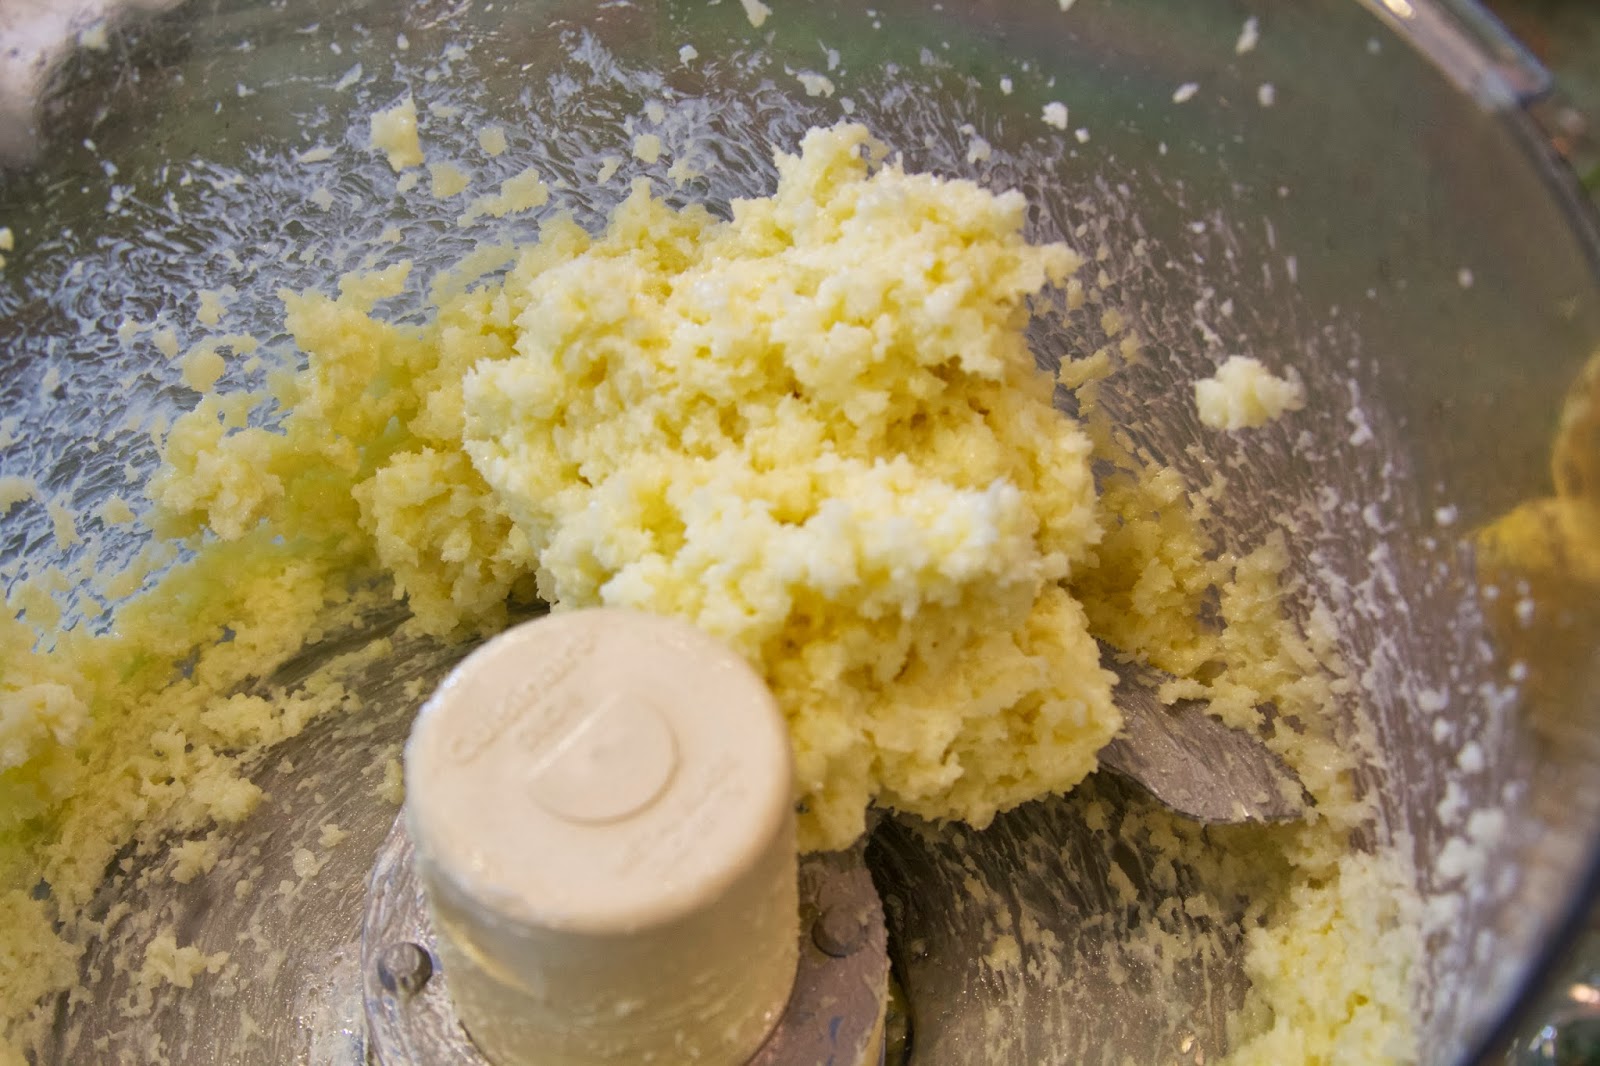
  3. In the bowl of the mixer, cream together the butter and the sugars until it is fluffy and light.  I did this for about 5 minutes on a medium setting (#4).  This is where the stand mixer is so valuable.  When doing this by hand, it’s tempting to skimp on this step because your arm gets tired. After the butter is creamed, stop the mixer, scrape down the sides of the bowl with a spatula.  Add one egg and on the lowest setting (#1) stir for exactly 5 seconds.  Stop the mixer, scrape down the sides of the bowl again and add the second egg.  Stir for 5 seconds.  Stop the mixer, scrape down the bowl and add the vanilla and mix for 5 more seconds.  At this point, it’s not going to look completely mixed, but this is ok.
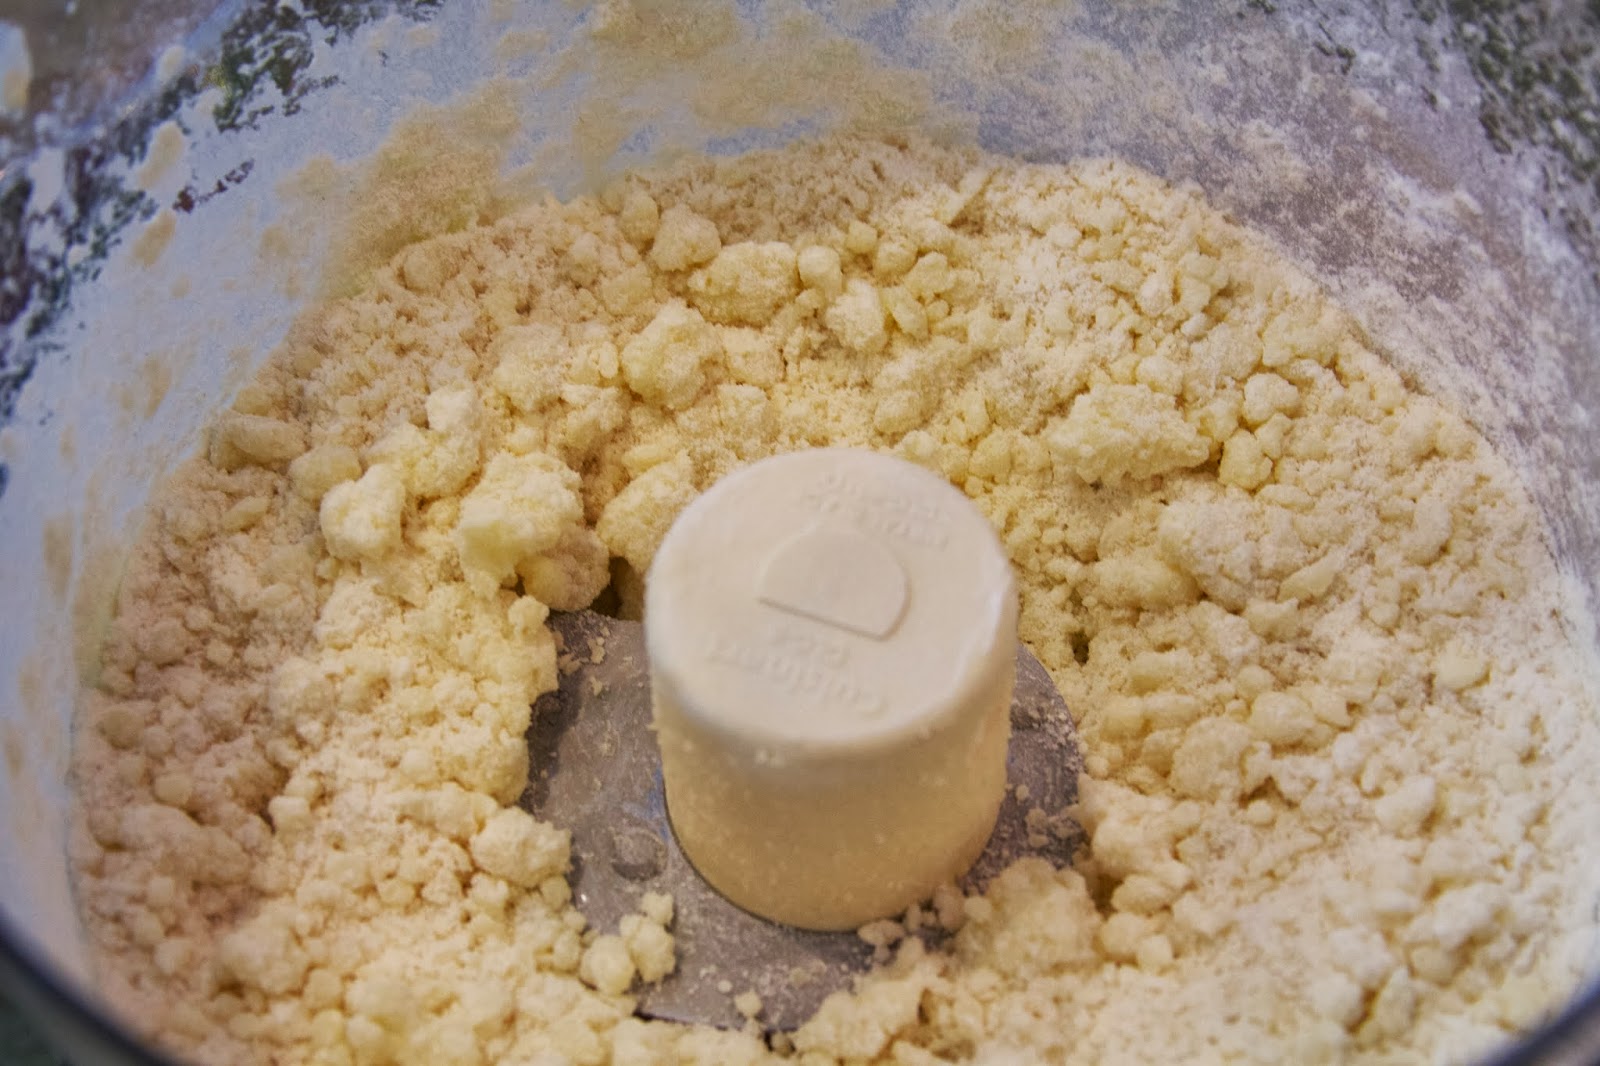
  4. The flour is added in four batches.  Again, with the mixer on the lowest setting, pour in one batch of flour and after it is incorporated, stop the mixer and scrape down the sides of the bowl.  Just before the fourth batch is added, add the chocolate chips and walnuts and stir just until you can’t see any trace of flour left.
  5. Line a baking sheet with parchment paper.  Use an ice cream scoop to portion 12 cookies and place on the sheet.  Sprinkle each cookie with a few grains of the sea salt and bake.  The original recipe calls for baking these cookies for 8 to 10 minutes, however, I chose to bake mine for 14 minutes and they were perfect–golden brown and puffed in the middle and crisp around the edges.  When they are done, transfer the cookies to a rack and allow them to cool just a bit. Then dig in, because to me there is nothing better than a cookie warm from the oven!

I baked one dozen of the cookies and the rest I portioned and placed on a cookie sheet and froze them for baking later!

IMG_0338

Lucky New Year Black Eyed Peas

In my family, there are only two holiday meals where the menu absolutely, positively can’t be futzed with: Thanksgiving and New Year’s Day.  With my mother doing less of the holiday cooking, Christmas has become somewhat free-form. The traditional dinner has evolved into brunch served family-style at my house. This year, the star was a lovely ham accompanied by piles and piles of bacon and served alongside a Tortilla Española.  To tell the truth, I think the star this year may have been the piles and piles of bacon–we went through 3 pounds that day!  This Christmas, I made my life a little easier by purchasing a HoneyBaked ham, and when the last slice of ham was eaten, I wrapped that lovely ham-bone and saved it for The Meal That Must Not Be Changed: New Year’s Day Dinner.  For as long as I remember, our family has eaten black-eyed peas and collard greens on New Year’s Day–those sweet and creamy peas cooked for hours with the Christmas ham-bone until the chunks of ham fall off the bone.  Then there were the greens; a little bitter, a little spicy and braised with onions, garlic, chili flakes and vinegar.  Until recently, I had believed this meal was a uniquely Southern ritual, but from the looks of my Facebook feed, it is enjoyed by so many people around the country!

We eat the peas and collard greens because they are considered “lucky” foods: the peas symbolizing coins and the collard greens, paper money.  So, as my mom would say: if you want to have a New Year filled with lots of prosperity, eat lots of black-eyed peas and collard greens!

Now, I realize that I’m a week overdue with posting this recipe, but there is no reason black-eyed peas can’t be made throughout the year–maybe when you’re in need of a little bit of extra luck!    It’s as easy as making any soup–everything gets tossed into a big pot to simmer away for two hours while you watch football, or do whatever you feel like doing!  The day before making the peas, pick through them and remove any stones or other debris.  Place the peas in a pot and cover them with water.  Allow them to soak overnight.

Ingredients:

1 16 ounce bag of black-eyed peas (soaked overnight)
2 carrots, diced
2 celery ribs, diced
1 large onion, diced
1 jalapeño pepper, diced
1 red bell pepper, diced
1 clove garlic, minced
2 sprigs of thyme, leaves removed and chopped roughly
2 bay leaves
5-6 cups chicken or turkey stock – homemade if possible
1 ham bone or ham hocks
freshly ground black pepper

1.  Pour about 2 tablespoons of olive oil in a heavy bottomed pot. Add the vegetables and sauté for about 5 minutes, until they begin to soften.

2.  Add the ham bone to the pot, then the soaked peas.  Add enough stock to completely cover the peas, then bring the pot to a boil.

3.  After the peas come to a boil, turn the flame to the lowest setting, cover the pot and go do something else for a bit!

4.  After the peas have cooked for about 2 hours, taste the broth and add additional seasoning as needed.  I didn’t need to add any salt to the pot, because the ham provided salt and the stock was already salted.  To make the peas creamy, my mother would smash some of the peas against the side of the pot with the back of a spoon.  Stir to incorporate the smashed peas.  Simmer for about 20 minutes more with the lid off.  The peas will become thicker and creamier as they stand.  Remove the ham bone  pulling off any remaining meat and adding it to the pot, then discard the bone. Another little secret–my mother would always add a little sugar to the peas–maybe 1/2 teaspoon.  This is totally optional, but lends a nice sweetness to the peas.
I hope your 2014 so far has been filled with good luck!

A Life You Organize: The Disaster Pantry – 2014

I’m going to air some of my dirty laundry and I hope you won’t judge me!  The photo above was taken yesterday morning in my hot mess of a walk-in pantry!  Believe it or not, I had actually organized this pantry last January on my annual household organizing blitz, but by December, it had de-evolved into madness.  Part of the problem is that I have a Costco membership!  I love to buy in bulk, but the problem with that is I had acquired more stuff than I knew what to do with!  So, yesterday, with an entire day set aside to reorganize this pantry, I was finally able to cut through the mess and set it to rights!  And, this is what it looks like now!  I am so excited that I can finally walk into the pantry without tripping over things!

Here are the steps I took in order to get it together!
Last year, I invested in some clear containers to hold items like flour, sugar, nuts, snacks.  I ended up using a few different systems, but if I were to do it all again, I would use square or rectangular canisters to maximize space.  I have some round containers and they take up a lot more room. For this project, I added a few extra canisters in order to house additional ingredients I had acquired. Here’s a tip: last year I purchased quite a few OXO containers at a specialty organization store.  I ended up finding the same canisters at Homegoods at a bargain! 
This year I picked up this hanging organizer to hold smaller items such as food processor accessories, muffin cups, cedar planks–anything that was small and created clutter went into this organizer.

1.  Clear it out!  I set to work moving everything out of the pantry.  This was a big job and the kitchen was a disaster for a while, but you have to take it apart in order to put it back together!
2.  Clean.  The second thing I did was run a sink full of hot soapy water.  I used dish soap with about a quarter of a cup of white vinegar.  I used this to wash the shelves and to clean off any sticky bottles.
3.  Purge, Purge Purge!  I went through and threw out anything that had reached its expiration date and anything that hadn’t been used during the year (with the exception of canned goods).
4.  Categorize. I designated each shelf into a distinct category.  Canned goods and preserves, bread and baking, pasta and grains, oils and vinegars, cereal, snacks and, of course, spirits!  Not everything fit perfectly in these categories, like, vitamins for instance, ended up in the snack section; but I know if I don’t keep my vitamins near the kitchen, I won’t take them.  I tried to be as logical as possible with the categories.
Pasta, Grains and Beans Shelf

Canned goods

5. Label.  Everything that wasn’t painfully obvious got a label.  I even labeled the shelves–ok, maybe I went a little overboard with the labeler, but it was fun! If an item had specific instructions on how to prepare it, I cut the instructions out and taped them to the canister.
Affix specific package instructions when needed
All of the sticky things were placed on an acrylic lazy susan.  This keeps them off of the shelves and easy to access. 

I can see the floor again!

I am so happy to have an organized pantry again!  Now I can find things easily and know when I need to replace items that are running out. It also keeps me from over-buying things that I already have!  I hope my story inspires you to tackle your biggest disaster area!

Saying Goodbye to 2013 and Photos from the Holidays

Well, 2013 has officially come to an end.  Looking back, I think it was a pretty good year, filled with the laughter and company of good friends, eating some great food and enjoying time with our families and loved ones.  Best of all, new memories were made!

The good folks at Google+ sent me this awesome look back at the photos I’ve taken and shared over the year!  It was fun to see all the things we planted, made and ate over the year!

I wanted to share a few photos from our home.  Here’s a photo of the Christmas tree and that’s my cat Sophie having a snack!

Christmas is one of our favorite holidays (somehow, I don’t think we’re alone in this) and I had a lot of fun decorating the kitchen this year.  Since I spend a lot of time in the kitchen anyway, it was nice to see it so festive all month long!

The garland above the cabinets is one of my favorite things!


I love this little topiary so much that I think I”ll just take the ribbon off and use it year-round!  Also, see that shiny metal object in the background?  That’s one of my Christmas presents!  A Kitchenaid Mixer!  This is such a game changer, and this next year is going to be The Year I Learn to Bake!

We also did a lot of entertaining over the holiday! These photos were taken from our our holiday cocktail party!  Lots of food was eaten and we discovered the Best Punch Ever! I am not kidding you, this Fish House Punch from my favorite blog, Alexandra’s Kitchen, is truly epic.  I don’t think I’ve ever had so much fun at a party, and to boot, it seemed to give me wild energy all night!  I don’t understand why this happened, because normally after one glass of any cocktail, I am down for a nap in minutes–but not this one!  I didn’t get to sleep until nearly 2:00 a.m.! I promise it doesn’t contain any Red Bull!


Santa came down our chimney in the wee hours of Christmas and brought this awesome bar cart!

I think we should start having some Mad Men-style cocktail parties in the living room from here on!


And then there was the Glenlivet 18-year Scotch.  Apparently Santa thought we were pretty darned good this year!

It’s now time to take all of the Christmas decorations down and then embark upon my customary January organization blitz!  First off, the pantry, which has become a disaster of epic proportions!  I am so ashamed; but, I will take a photo of it when it’s done!

I hope each and every one of you had a wonderful holiday season!  Here’s to a fantastic 2014 and may your lives be filled with cheer, love, friendship, family and great food! 

Manchego Cheese and Olive Crackers with Creamy Radicchio Spread

The second recipe that I tested for the Food52 website this week is this delicious little bite of some unexpected ingredients.  The original recipe is here.  This recipe took a little more effort than the kalamata olive tapenade crostinis, but I was excited to learn something new:  making homemade cheese crackers!  I had no idea that making homemade crackers would be so easy–it’s basically the same process as making a pastry crust–and it can easily be made in a food processor.  The cracker is then topped with a mixture of radicchio and cream cheese. Radicchio is a very assertive (ok, bitter) lettuce, but it becomes wonderfully mellow when mixed with the cream cheese.  What I also loved about this recipe is that it uses castelvetrano olives!  I may have mentioned my love for these olives before–bright green and buttery, they were a perfect compliment both inside the cheese cracker and in the garnish. Do yourself a favor and buy the olives already pitted–it will make the process that much easier.  I found an enormous jar of them at Costco and they were such a great price, I had to buy them.  I’m going to have to find a lot more things to make with these olives!

Since I was testing this recipe, I stuck very close to the original recipe, with very few changes.

Manchego Cheese and Olive Crackers with Creamy Radicchio Spread

  • Servings: 24 canapés
  • Difficulty: easy
  • Print

For the cracker you will need:

  • 1/4 cup unsalted butter, softened
  • 2 tablespoons good olive oil
  • 4 ounces shredded manchego cheese
  • 1 cup all purpose flour
  • 1 teaspoon baking powder
  • 12-15 castelvetrano olives
  • 1-2 teaspoons olive brine or cold water
  1. Combine the butter, olive oil and cheese in the food processor and pulse until well combined.
  2. Combine the flour and baking powder in a small bowl and mix well.  Add the flour mixture to the food processor and pulse until the mixture looks crumbly.
  3. Sprinkle the olives and the brine on top of the mixture in the food processor and pulse until the olives are thoroughly incorporated and there are no large pieces of olive.  The mixture should still be crumbly, but when you pinch it, it should hold together.  I used two teaspoons of olive brine in the mixture in order to get it to the proper consistency.
  4. Pour the mixture onto a piece of wax paper or plastic wrap and shape into a log.  Place the log in the freezer for about 30 minutes.
  5. Slice the dough into 1/4 inch thick slices and place them on a baking sheet lined with parchment paper.  Using a fork, poke two sets of holes in the top of the cracker.  Bake in a 350 degree oven for approximately 25 minutes, or until golden brown.   Rotate the pan halfway through cooking so that the crackers bake evenly.  Transfer to a cooling rack and allow them to cool before topping with the creamy radicchio mixture.


For the radicchio topping:

  • 1 cup of shredded radicchio
  • 8 ounce package of cream cheese, softened
  • 2 teaspoons lemon zest
  • 1/8 teaspoon fresh black pepper
  • 12 Castelvetrano olives, cut into slivers
  1. First, prepare the radicchio by slicing the head in quarters.  Remove the core first, then cut the quarters into thirds.  Slice the thirds horizontally in thin slices.  Soak the radicchio in ice water for 15 minutes, then spin it dry in a salad spinner. Soaking the radicchio is a very important step as it helps to temper its bitterness.
  2. Mix together the cream cheese, lemon zest, pepper in a bowl.  Add the radicchio and stir to combine.
  3. To assemble the hors d’oeuvres spoon about a teaspoon of the cream cheese mixture on top of each cracker, then top with a sliver of olive.

I have it on good authority (my own) that this little bite is perfect with a crisp white wine or champagne!

Crostinis with Olive Tapenade and Burrata Cheese

The holidays are upon us already!  Where has this month gone?  Heck, where has this year gone?  Even though I love the holiday season, it is really easy to become overwhelmed with all of the things that need to be done–the decorating, the shopping.  But, what I really love, is the partying!  I feel like I haven’t done much cooking since Thanksgiving, so in order to get myself back into the swing of things, I volunteered to test a couple of recipes for the website Food52.  Both recipes I tested were not only flavorful and inventive, but were very easy to put together and perfect to make or take to a holiday party.  The first one is a crostini topped with creamy burrata cheese and an olive tapenade.  The original recipe is here and since I was testing the recipe I made it exactly as written and didn’t make any changes.  I think it turned out perfectly and I really loved how well the briny tapenade paired with the creaminess of the cheese.  If you’ve never had burrata cheese, you must stop everything and make this right now!  It is mind-blowing!  Imagine fresh mozzarella cheese, but filled with rich cream inside.  It is amazingly buttery and delicious!  I was able to find burrata cheese at Trader Joe’s.  If you have trouble finding it, fresh mozzarella may be substituted.

Crostinis with Olive Tapenade and Burrata Cheese

  • Servings: 24
  • Difficulty: easy
  • Print

Preheat the oven to 350 degrees

8 ounces pitted kalamata olives, coarsely chopped
3/4 teaspoon anchovy paste
1 clove garlic, minced
3 teaspoons capers, drained
1-2 tablespoons good olive oil
1 tablespoon Dijon mustard
1 tablespoon fresh lemon juice
1 tablespoon fresh thyme leaves, chopped
1 tablespoon fresh parsley, chopped

1 baguette, sliced into rounds

16 ounces fresh burrata cheese

1.  In a food processor, combine the olives, anchovy paste, capers, and garlic and pulse three or four times.

2.  Add the lemon juice, dijon mustard, thyme, parsley and olive oil and pulse five or six more time until combined and the mixture is chunky.  Spoon the mixture into a bowl and set aside to allow the flavors to mingle.

3.  Slice the baguette into 1/2 inch rounds and brush both side of each round with olive oil.  Place on a cookie sheet and bake for four minutes on each side (eight minutes total).
4.  After the bread has toasted (spread each crostini with a bit of the cheese and then top with a spoonful of the tapenade.
See what I mean about being easy?  Now make this and take it to a party and wow your friends!

Balsamic Vinegar Roasted Brussels Sprouts with Chorizo and Red Onion

Brussels sprouts never fail to spark a little conversation.  Seems either folks love them or hate them, but frankly, I think they unfairly get bad press due in part to bad childhood memories.  Oddly, I was never in the camp of Brussels Sprouts Haters–the first time I had them as a child, I didn’t mind them, which is really saying something because back in the 1970s, people did horrible things to Brussels sprouts–namely boiling them to death, which made them very, very bad indeed.  Still, even boiled to death, I could see in my little kid mind that these baby cabbages (as I called them) had promise. I think above anything else, I thought they looked cool and it seemed like a very grown-up thing to eat.  Growing up, they didn’t appear too often on our family’s table–my younger brothers, for one, would never touch them, but over the past few years, I’ve rediscovered them–each fall, tweaking the recipe a bit and coming up with different ways to make them.  Previous Thanksgivings, I have separated the leaves and sautéed them with bacon or pancetta and onions (which is amazing). Earlier this year, we experimented with grilling them. These days, I’ve been making them just a few ingredients and roasting them in a hot oven.  I find that roasting them at a high temperature really brings out their sweetness.
   

This is by far the simplest recipe I’ve shared on this blog.  It is so simple that it barely has measurements and it only has 5 ingredients!  This recipe was created out of pure hunger.  One day last week, I was super hungry and the refrigerator was nearly bare.  So, after rummaging through the kitchen, I found some Brussels sprouts and a small hunk of almost-forgotten-about Spanish chorizo.   I threw in some chopped red onion and a drizzle of olive oil and balsamic vinegar, and voila! an easy and delicious side dish!  If you have some Spanish chorizo on-hand, definitely give it a try.  I say “Spanish chorizo” because it is a completely different product than the Mexican fresh chorizo that you typically find in the grocery store.  Spanish chorizo is cured and has a firm texture, like aged salami.  The chorizo, while completely optional, brings a little bit of heat to the dish and it really does have an amazing flavor.  The balsamic vinegar heightens the caramelization of the Brussels sprouts and gives it a wonderful sweetness.  I’m proud to say that I have converted quite a few Brussels Sprouts Haters to fans, so I hope you’ll give them a try even if you thought you hated them before!

Preheat the oven to 425 degrees.

You will need:
1 pound of Brussels Sprouts
1 ounce chorizo, chopped
1/2 red onion chopped
2 tablespoons olive oil
2 tablespoons balsamic vinegar
salt
freshly ground black pepper
Trim the bottoms of the sprouts and remove any leaves that are ugly or discolored.  Slice the sprouts in half (or in fourths if they are very large).  Combine all three ingredients in a large mixing bowl and add about 2 tablespoons of olive oil and a 2 tablespoons of balsamic vinegar.  If you are using a thick, syrupy balsamic vinegar or a balsamic reduction, use a little less–about 1 tablespoon.  
Spread the Brussels sprouts in a shallow baking pan and roast in the oven for 25 minutes, or until the Brussels Sprouts are tender and can be easily pierced with a fork.
That’s it!  How easy is that for a side dish?  I think this is a definite keeper for Thanksgiving this year.