Latest Posts

Baked Eggs Over Polenta with Prosciutto

Being born and raised in the South, a staple weekend breakfast in our house often consisted of eggs, bacon and grits; or, eggs, grits and country ham with red-eye gravy; or perhaps, eggs, sausage and grits.  Perhaps we would switch things up a bit and have fried fish and grits.  You’re probably beginning to notice a pattern here!  I’ve been living in the Southwest for 25 years, and what makes me sad is that grits are always hard, if not impossible, to find.  I can usually find the packages of instant grits, but they just aren’t the same and besides, that’s not the way Momma made them!  So, I’ve adapted, and instead of the white, coarse-ground grits of my youth, I now simply use golden polenta, which is almost exactly the same.  Both grits and polenta are made of ground corn, with the difference being that grits are made from ground alkali-treated hominy.  
I know I’ve told you how much I love eggs and in this dish, the eggs are gently baked on top of a bed of creamy polenta that’s seasoned with fresh rosemary and basil.  Then it’s topped off with a bit of sliced, salty, Prosciutto di Parma and chopped basil.  This isn’t the way Momma made it, either, but in a way, this updated dish perfectly blends my Southern upbringing with Eric’s Italian heritage.  It’s a lovely dish to make for brunch and it’s easy to assemble for multiple people.  Everyone gets their own piping-hot bowl, right from the oven!
You will need:
Per serving, use 1/4 cup polenta to 1 cup broth.  I made this dish for 2 people, so I used 1/2 cup polenta and 2 cups broth
Broth or Chicken stock
1 teaspoon finely minced rosemary
1 tablespoon chopped basil
1/4 cup parmesan cheese or Parmigiano Reggiano
Eggs (2 per serving)
Prosciutto (1 slice per serving) 
pat of butter
freshly ground pepper
pinch of salt

Preheat your oven to 350 degrees.  To make the polenta, bring the broth to a boil and slowly whisk in the polenta, keep stirring until the polenta begins to thicken, then reduce the flame to low.  Add the rosemary and about a teaspoon of the chopped basil, a very small pinch of salt and some fresh ground black pepper.  Stir often to avoid sticking and cook for approximately 15 to 20 minutes.  Add the parmesan cheese.  At this point I also add a small amount of butter, about 1 teaspoon, to give it a creamy texture.  Stir to combine.

Slice the prosciutto across the grain in thin slices and add half of the prosciutto to the cooked polenta and stir to combine.

Divide the polenta into oiled or buttered oven-proof ceramic bowls.  Place the bowls on a sheet pan.  Top each dish with two eggs and sprinkle the eggs with the remainder of the prosciutto and the basil.  Add a very tiny sprinkle of salt and pepper.  Go easy on the salt, as the dish will be well salted from the prosciutto and the parmesan cheese.

Place in a 350 degree oven for 25 to 30 minutes or until the eggs are cooked to your desire.  Because I like my yolks runny I removed these when the yolks still had some jiggle and the whites were cooked through–about 25 minutes.

These were so delicious!  Comforting and warm and filling!

Runny yolks–my favorite!

Farro Pilaf with Walnuts and Cranberries

Autumn is just around the corner.  I swear, I can feel it.  I did a double-take this morning when I saw a few golden leaves on the Chinese Pistache tree in the front yard; then this evening, a storm blew through and it rained and the weather cooled a bit and I got that familiar excitement again.  Fall is coming.  Time for roasted things! Hot soup! Turkey Day!  It will be here before you know it!

I think I’ve mentioned how much I love farro.  I love its nutty flavor and chewy texture and it’s a great alternative to rice.  This farro pilaf is so easy and it makes an elegant side dish.  This pilaf even makes an amazing stuffing for cornish game hens! The drippings from the bird make it even more delicious!  There is so much flavor in this dish–from the sage and thyme to the toasty walnuts and tart dried cranberries.  It really just speaks Autumn and I love it!

I always buy “pearled” or “semi-pearled” farro, which takes less time to cook than whole farro and doesn’t require soaking.  It can be found packaged or in bulk in specialty markets, like Whole Foods Market and I’ve also seen it at Costco.

For 4 servings you will need:

1 cup farro (pearled or semi-pearled)
1/2 cup onion, minced
2 small cloves garlic, minced
3 sage leaves, chopped
1 sprig thyme, leaves removed from the stems
1/2 cup chopped walnuts
1/4 cup dried cranberries
2 cups chicken stock
olive oil
salt
freshly ground black pepper

In a medium saucepan, heat about 1 to 2 tablespoons olive oil.  Stir in the chopped sage and thyme and cook until fragrant, about 1-2 minutes.  Add the onions and garlic and cook until translucent, about 3 minutes.  Add the walnuts and the farro.  Sauté until the farro is coated with the olive oil and is lightly toasted.

Add the chicken stock and season with a pinch of salt and pepper.  Bring the mixture to a boil, then reduce the heat to simmer and cover.  Cook for approximately 25 minutes and then add the dried cranberries.  Cook for an additional 5 minutes or until all of the liquid has been absorbed into the grains.  Remove from heat and allow the farro to settle in the covered saucepan for about 5 minutes before serving.

I finished the pilaf with a squeeze of fresh lemon juice and some chopped parsley to give it a little brightness and lift. That’s it!  It’s that easy, and I hope that you will try this the next time you need a side dish for a warm, Autumn meal!

Filet Mignon Sandwiches with Herbed Goat Cheese and Arugula

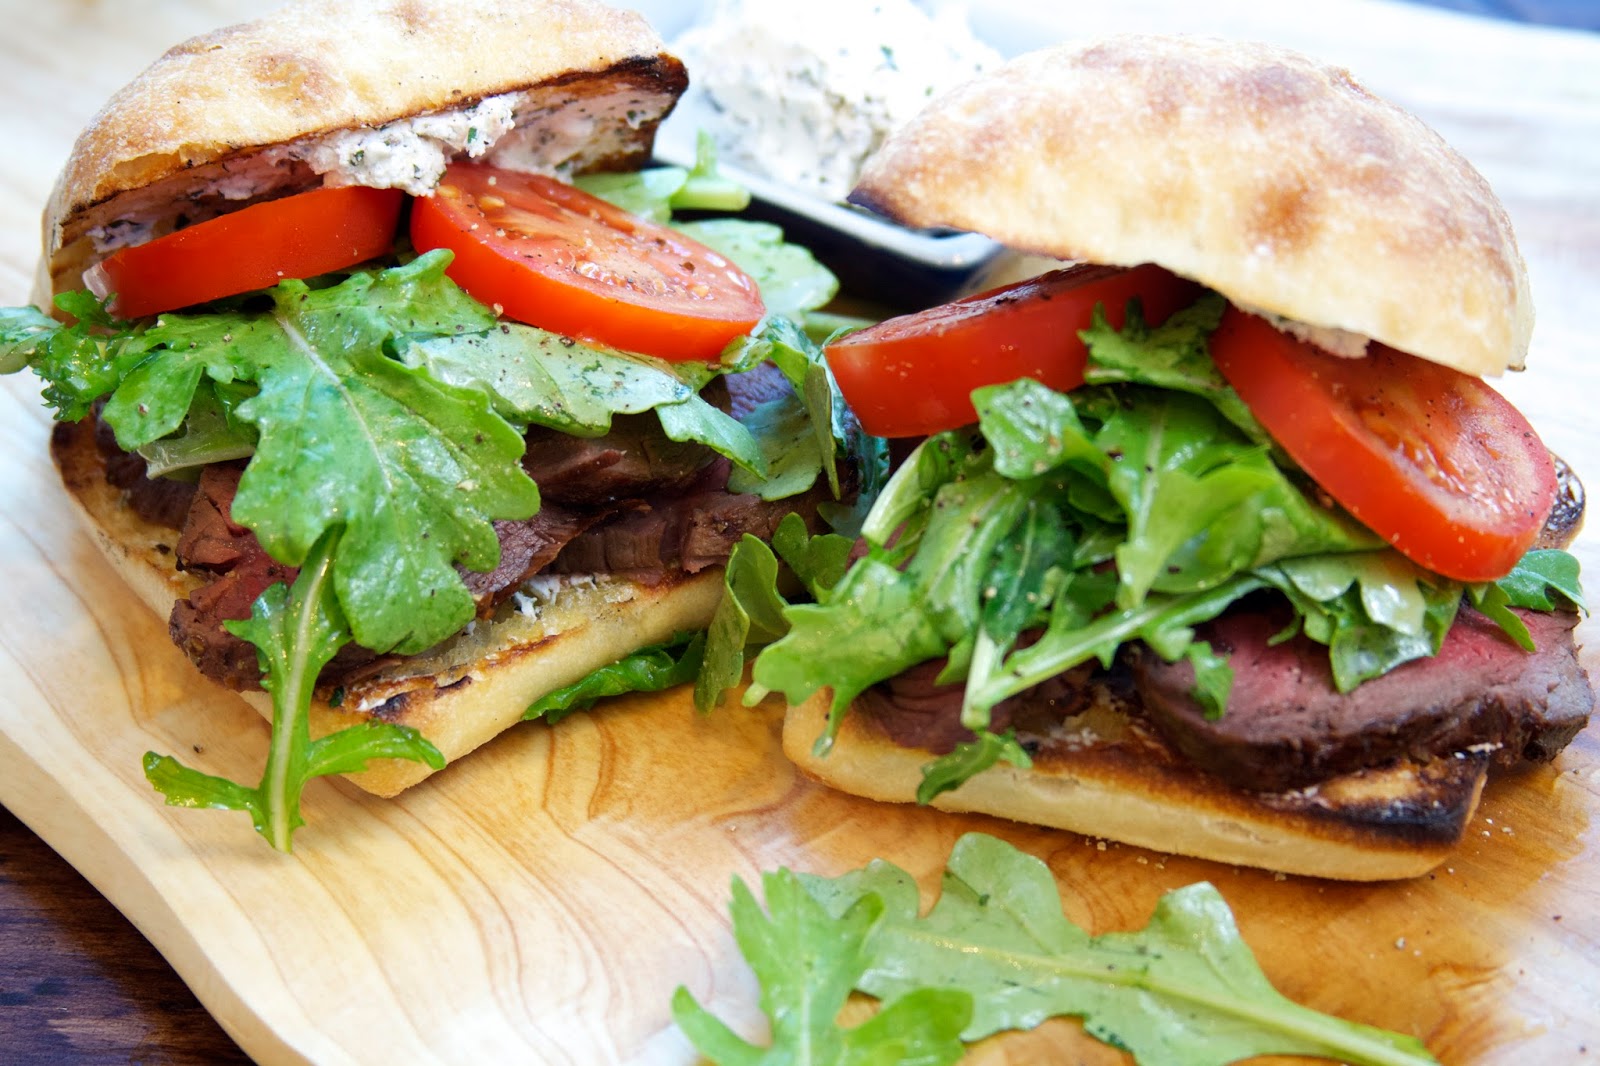
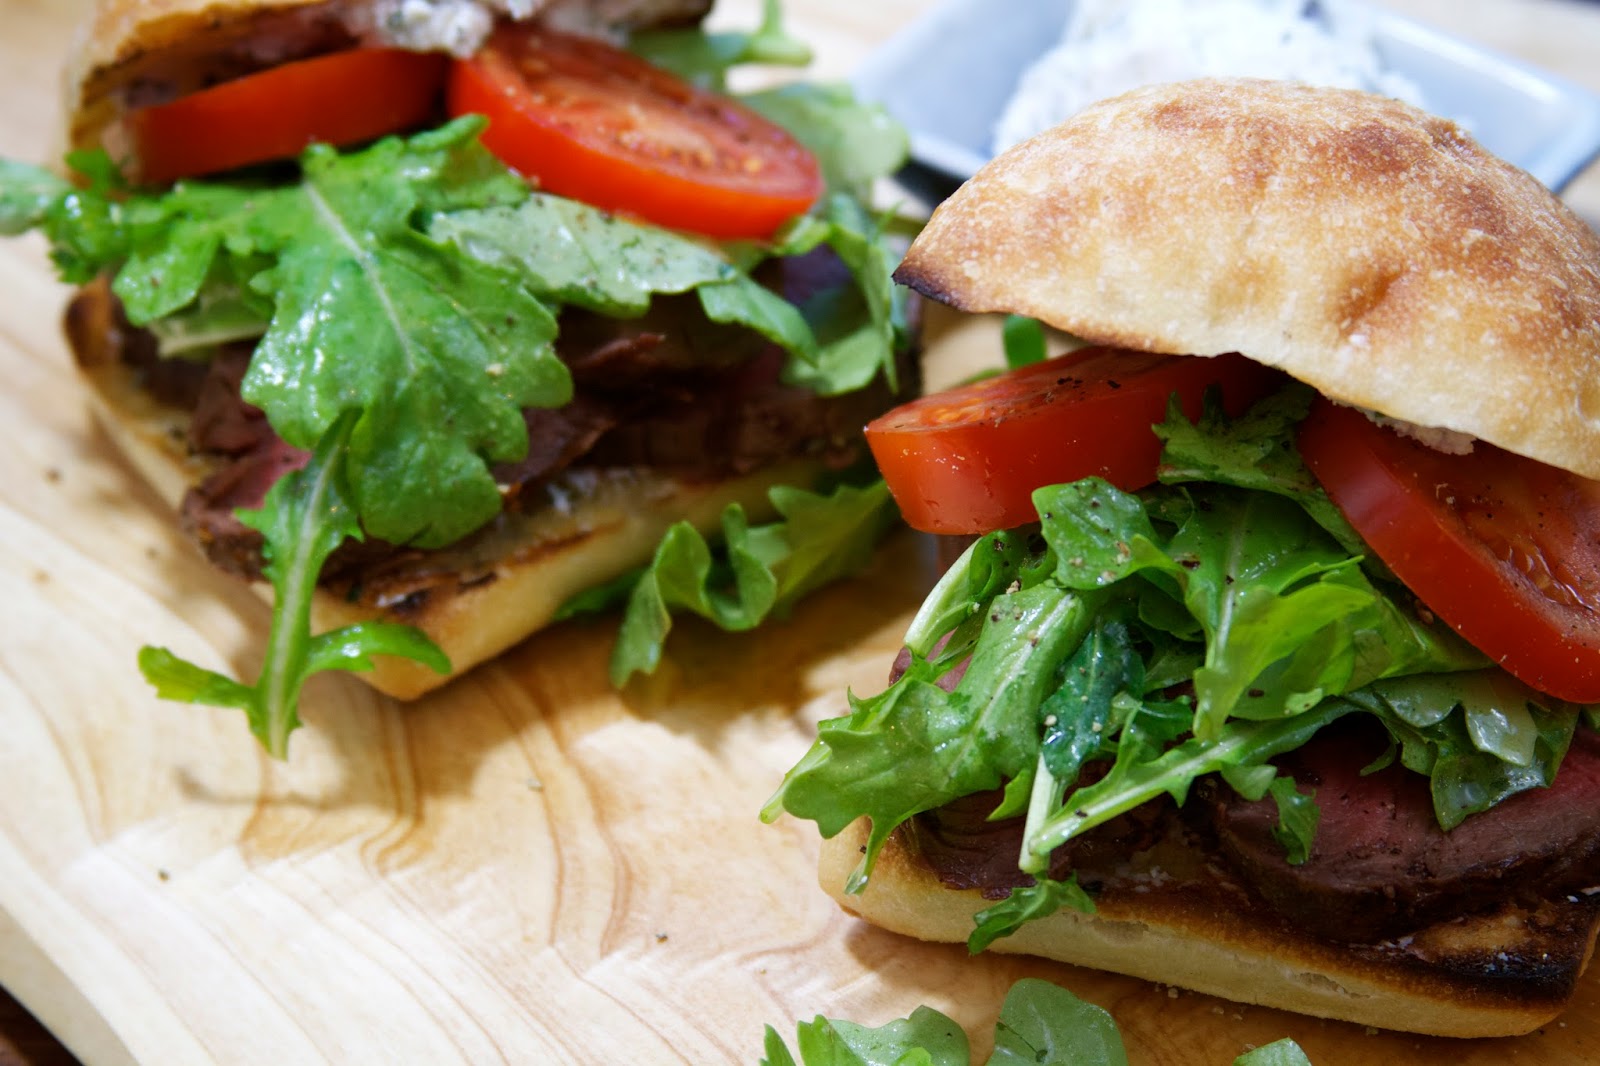
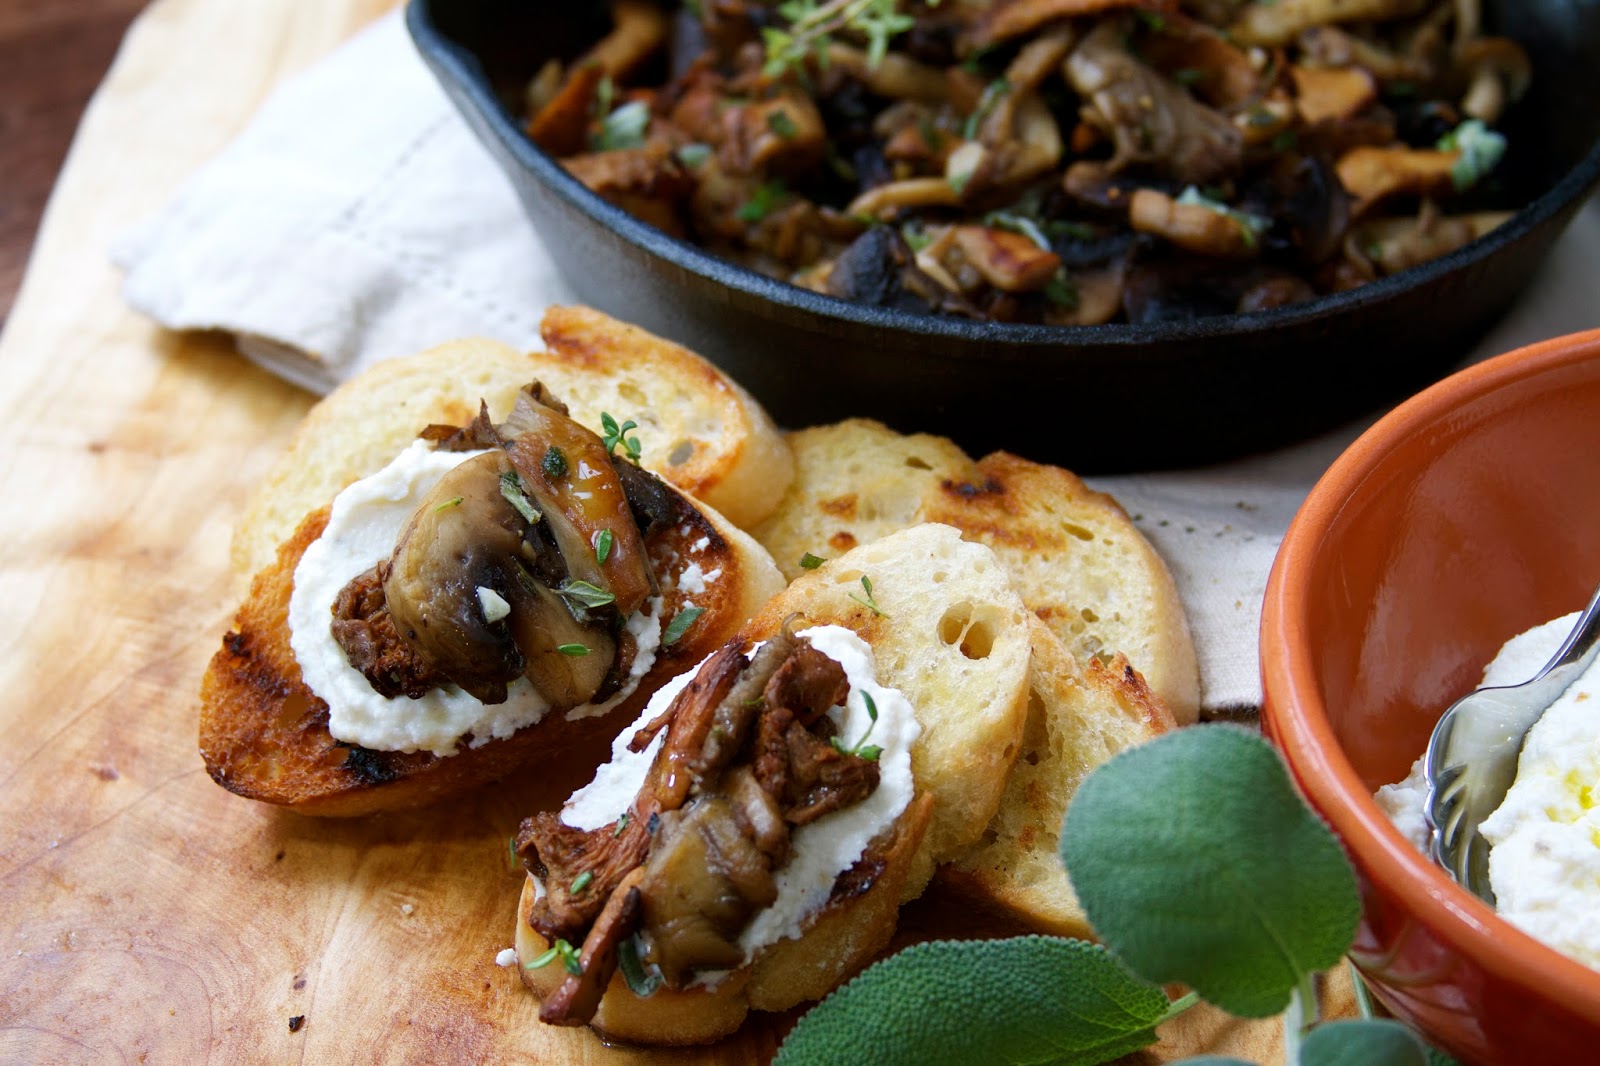
Happy Labor Day weekend!  I hope you are all having a great time enjoying this last summer holiday! Maybe you’ve had a chance to fire up the grill this weekend or perhaps you’ve already moved on to the comfort foods of autumn.  I have done a little of both.  In my head (and in my stomach) I’m already craving those comfort foods–like roasts, homemade bread, creamy polenta baked in the oven…but at the same time, it is still summer, and we in the Southwest have about two more months before we begin to feel the first twinges of cool Fall weather.  So, today, I landed on a happy medium.  I still got my roast, but made it on the grill, sliced rare and piled on a toasted ciabatta roll topped with goat cheese laced with fresh herbs and a nice handful of peppery arugula.

The inspiration for this sandwich comes from the “Barefoot Contessa, Back to Basics” cookbook.  I tend to make this sandwich for special occasions, simply because the main ingredient, filet mignon, tends to be expensive.  I purchased the filet from Costco and it comes in a four to six pound loin.  It does takes a bit of butchering to remove the excess fat and silver-skin, but it’s the most economical way to purchase this expensive cut.  I like to divide it into 1 pound portions and freeze it. It might be more convenient for you to purchase a beef tenderloin from your butcher in a 1 to 1 1/2 pound roast.

I used a 1 pound portion of the loin, which is enough for three to four sandwiches.  Preheat your grill on high heat for direct grilling.  Alternatively, you can make this roast inside in an oven preheated to 500 degrees.

1 to 1/2 pound beed tenderloin roast
1 to 1 1/2 teaspoon salt
1 to 1 1/2 teaspoon freshly ground black pepper
softened unsalted butter or canola oil

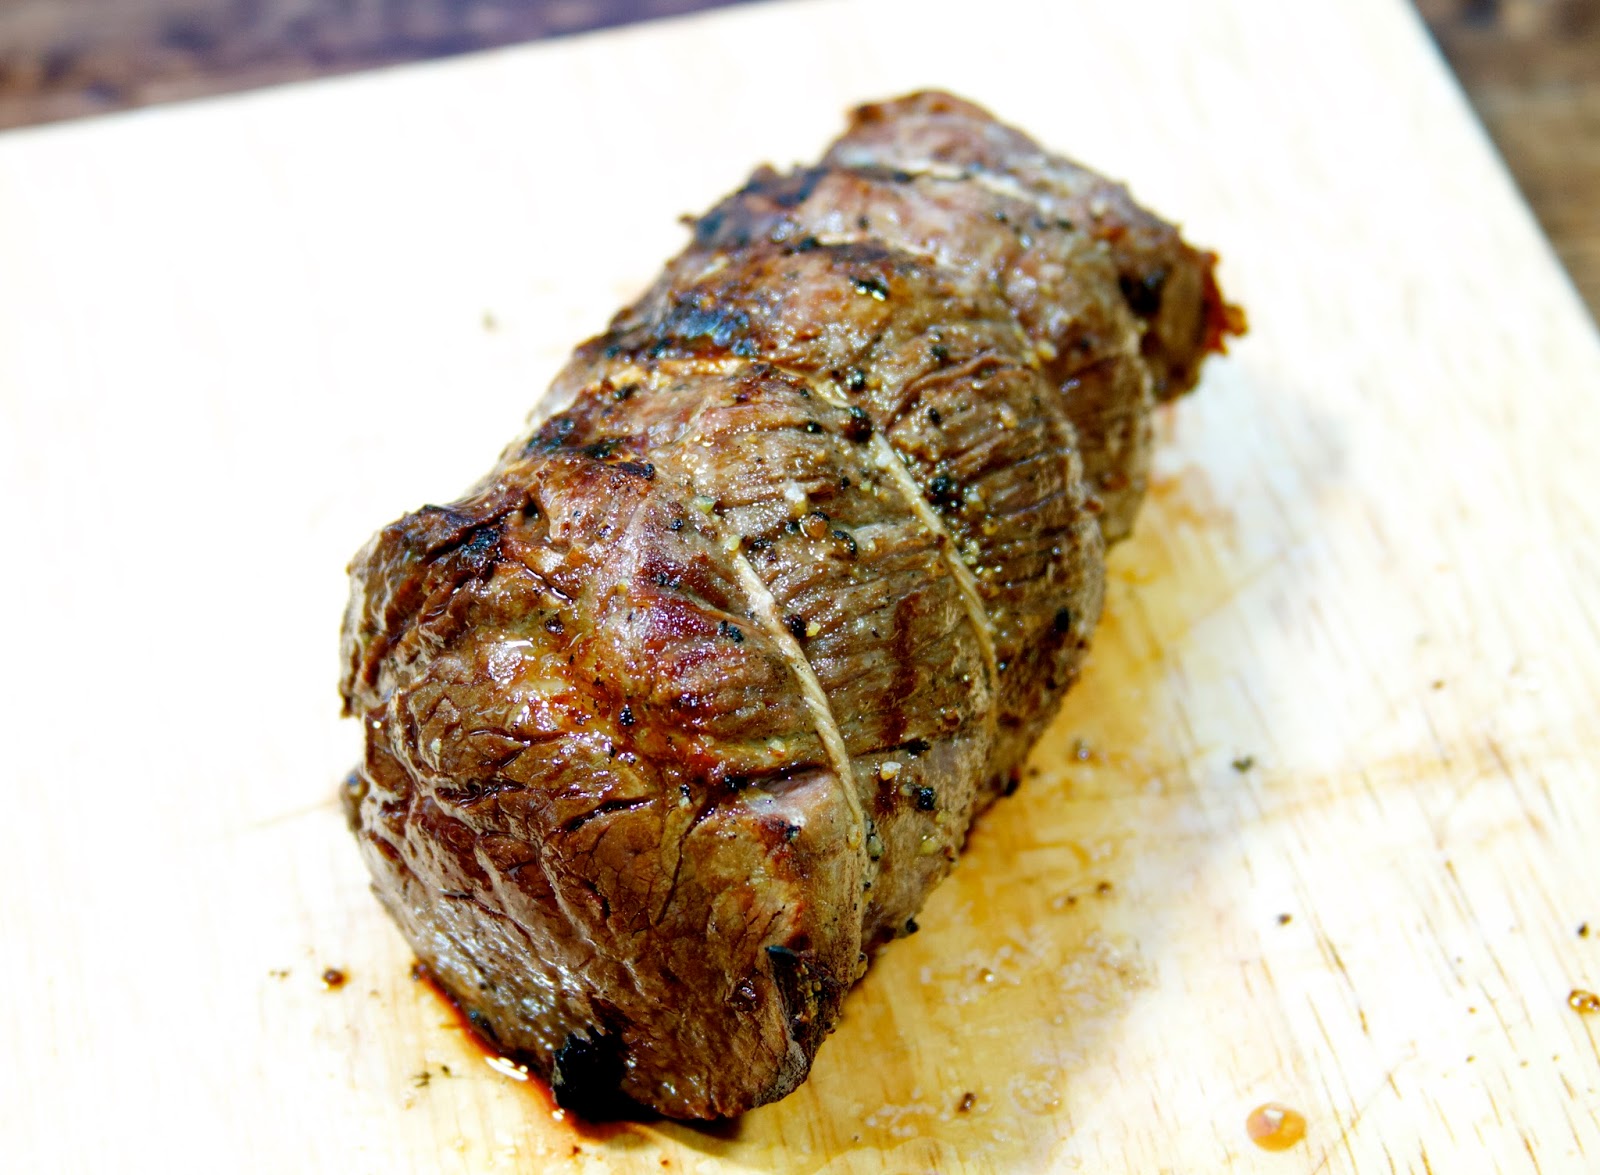
As you can see, I trussed the roast with cooking twine to keep its shape. Allow the meat to come to room temperature before cooking. Pat the meat dry with a paper towel, then season the roast generously with salt, pepper, softened unsalted butter (decadent!), or brush it with canola oil.  Place the roast on the grill, or if cooking in your oven, on a grated roasting pan.

Allow the meat to sear on the one side–about 5 to 7 minutes, then turn the meat and cook on the other side.  I like filet rare to medium rare, so I cooked this roast for approximately 18 minutes total since my grill was set around 550 to 600 degrees.  If you are making this roast in the oven, there is no need to turn the roast.  In a 500 degree oven, a good guideline is 22 for rare and 25 minutes for medium rare.  After the roast has finished cooking, cover it tightly with aluminum foil and allow it to rest for 10 to 15 minutes.  Don’t dare cut into that roast before it has had a chance to rest–this allows the juices to reabsorb into the meat.  If you don’t allow for a rest period, the juices will all leak out and you will be left with a dry filet mignon, which would be a tragedy!  After the meat is done resting, slice in 1/4 inch slices.

Allow the roast to rest for 10 to 15 minutes after cooking

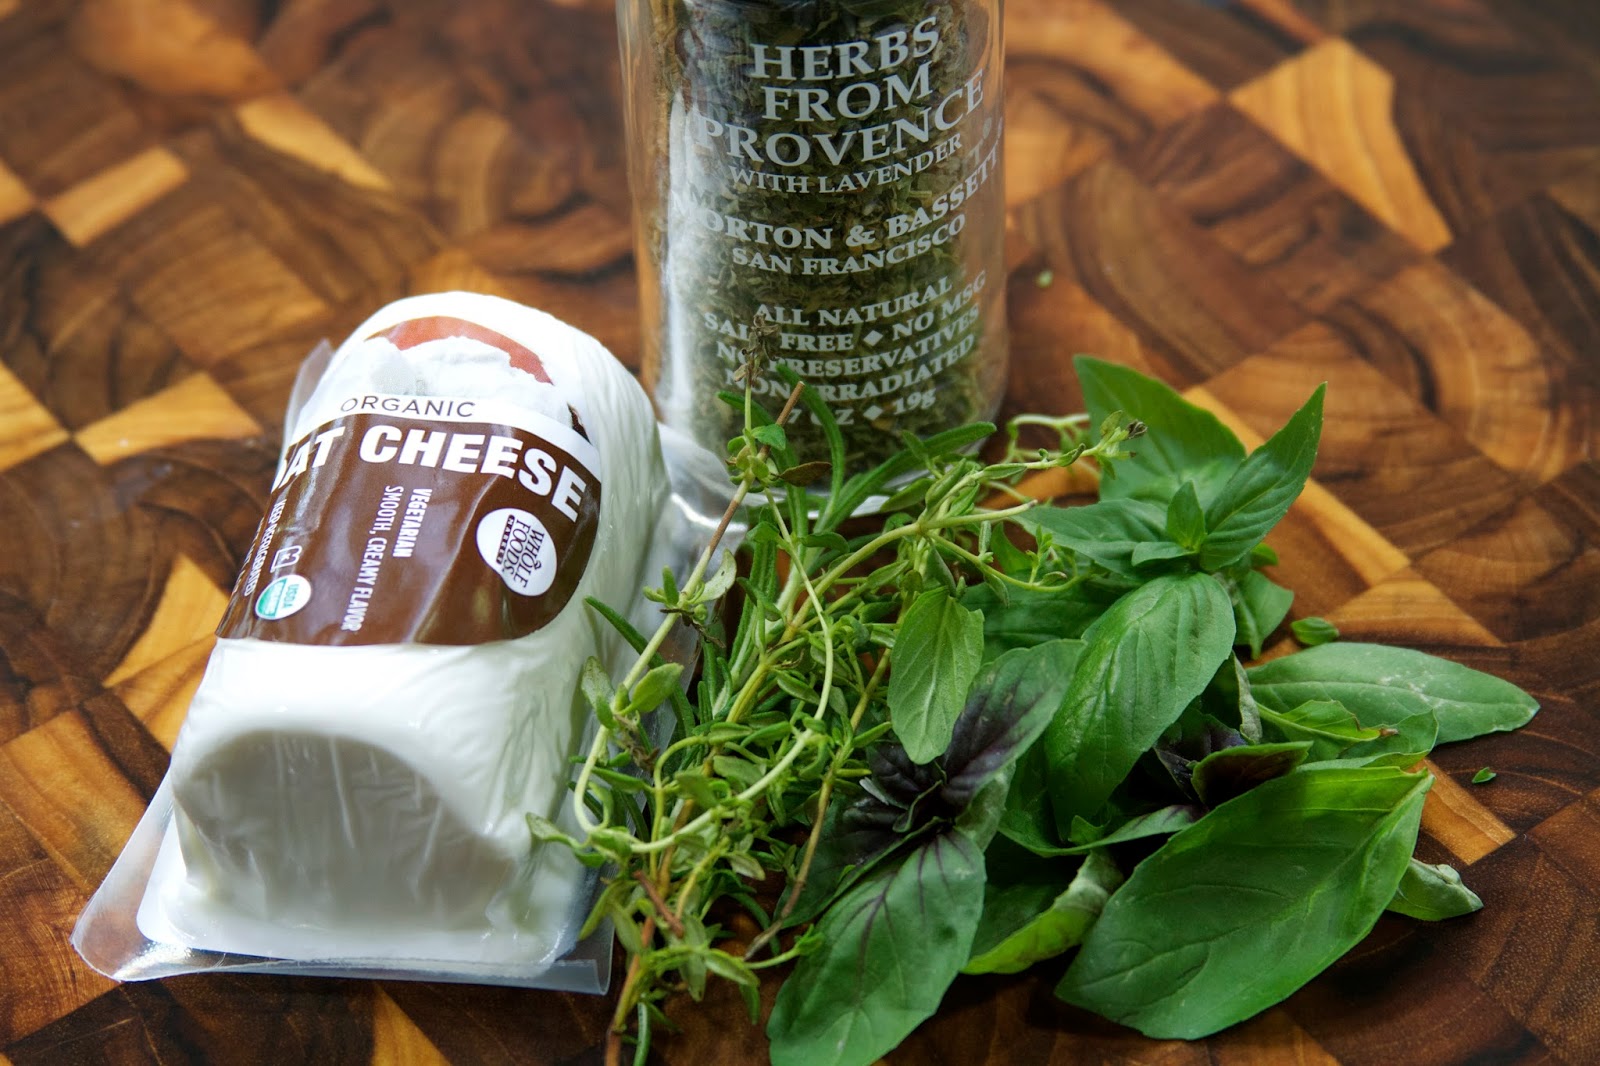
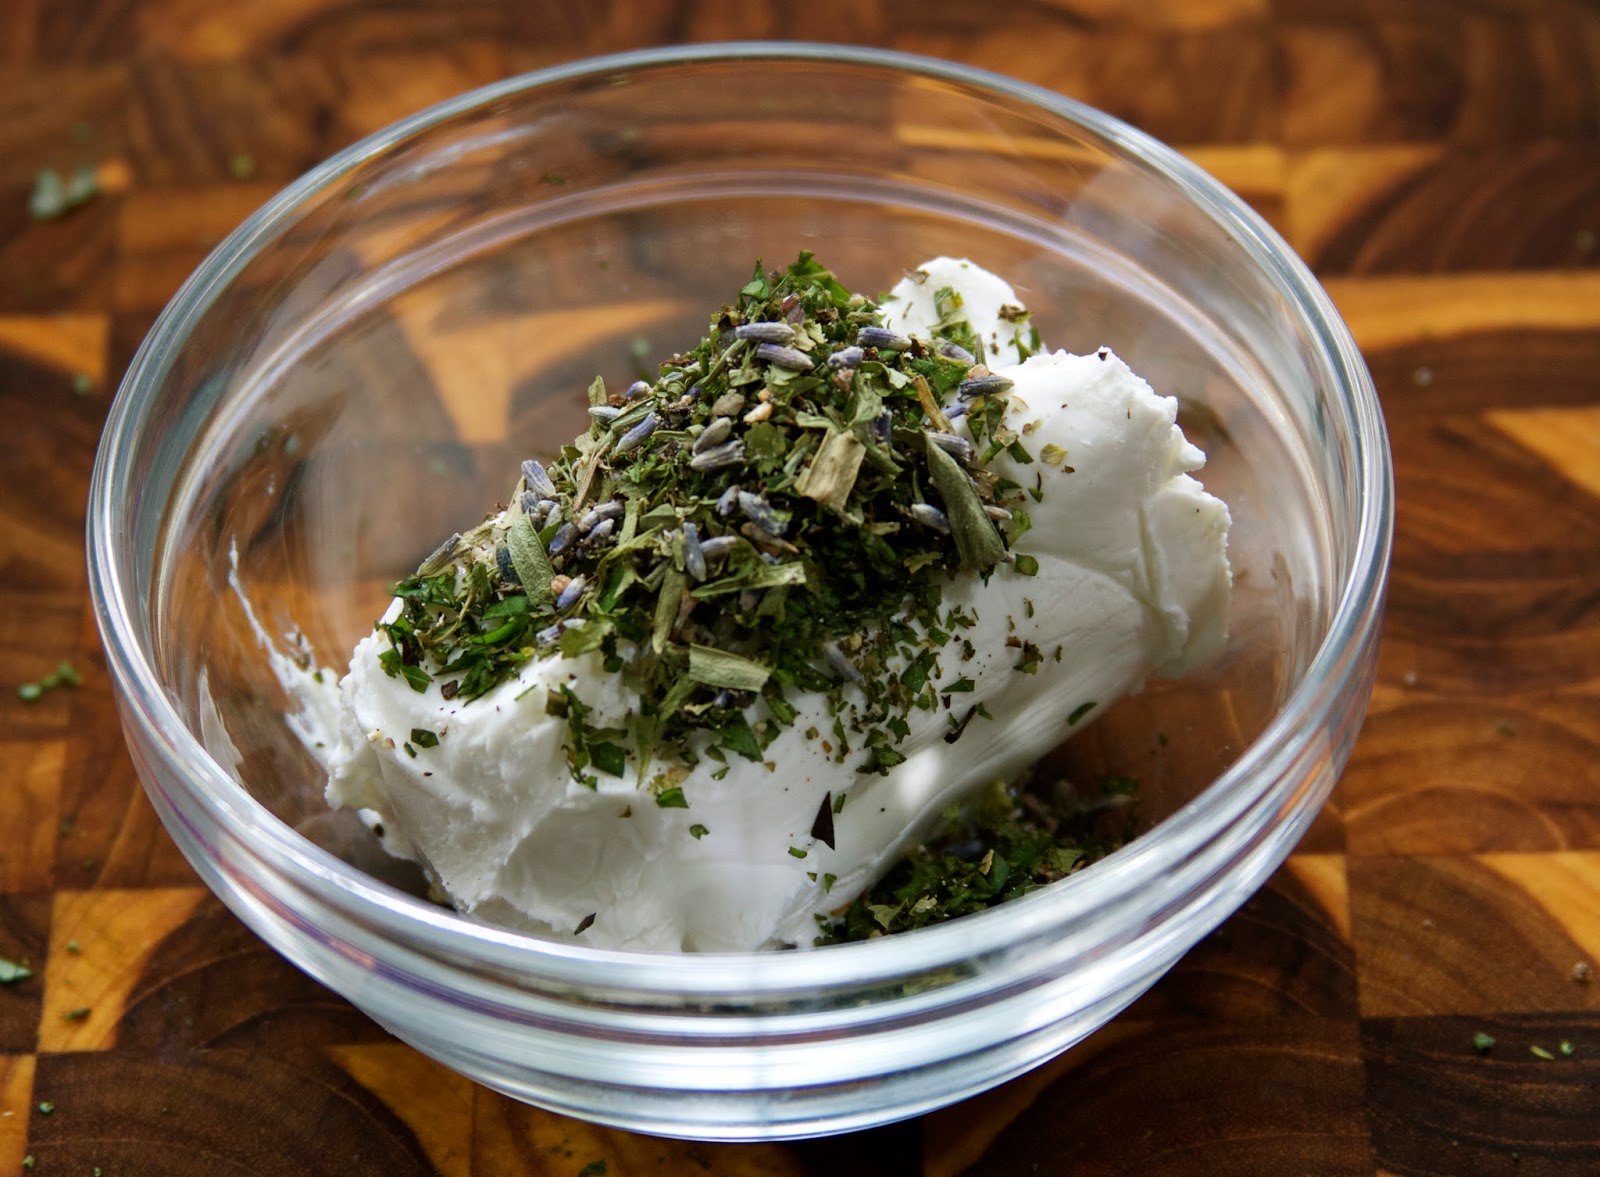
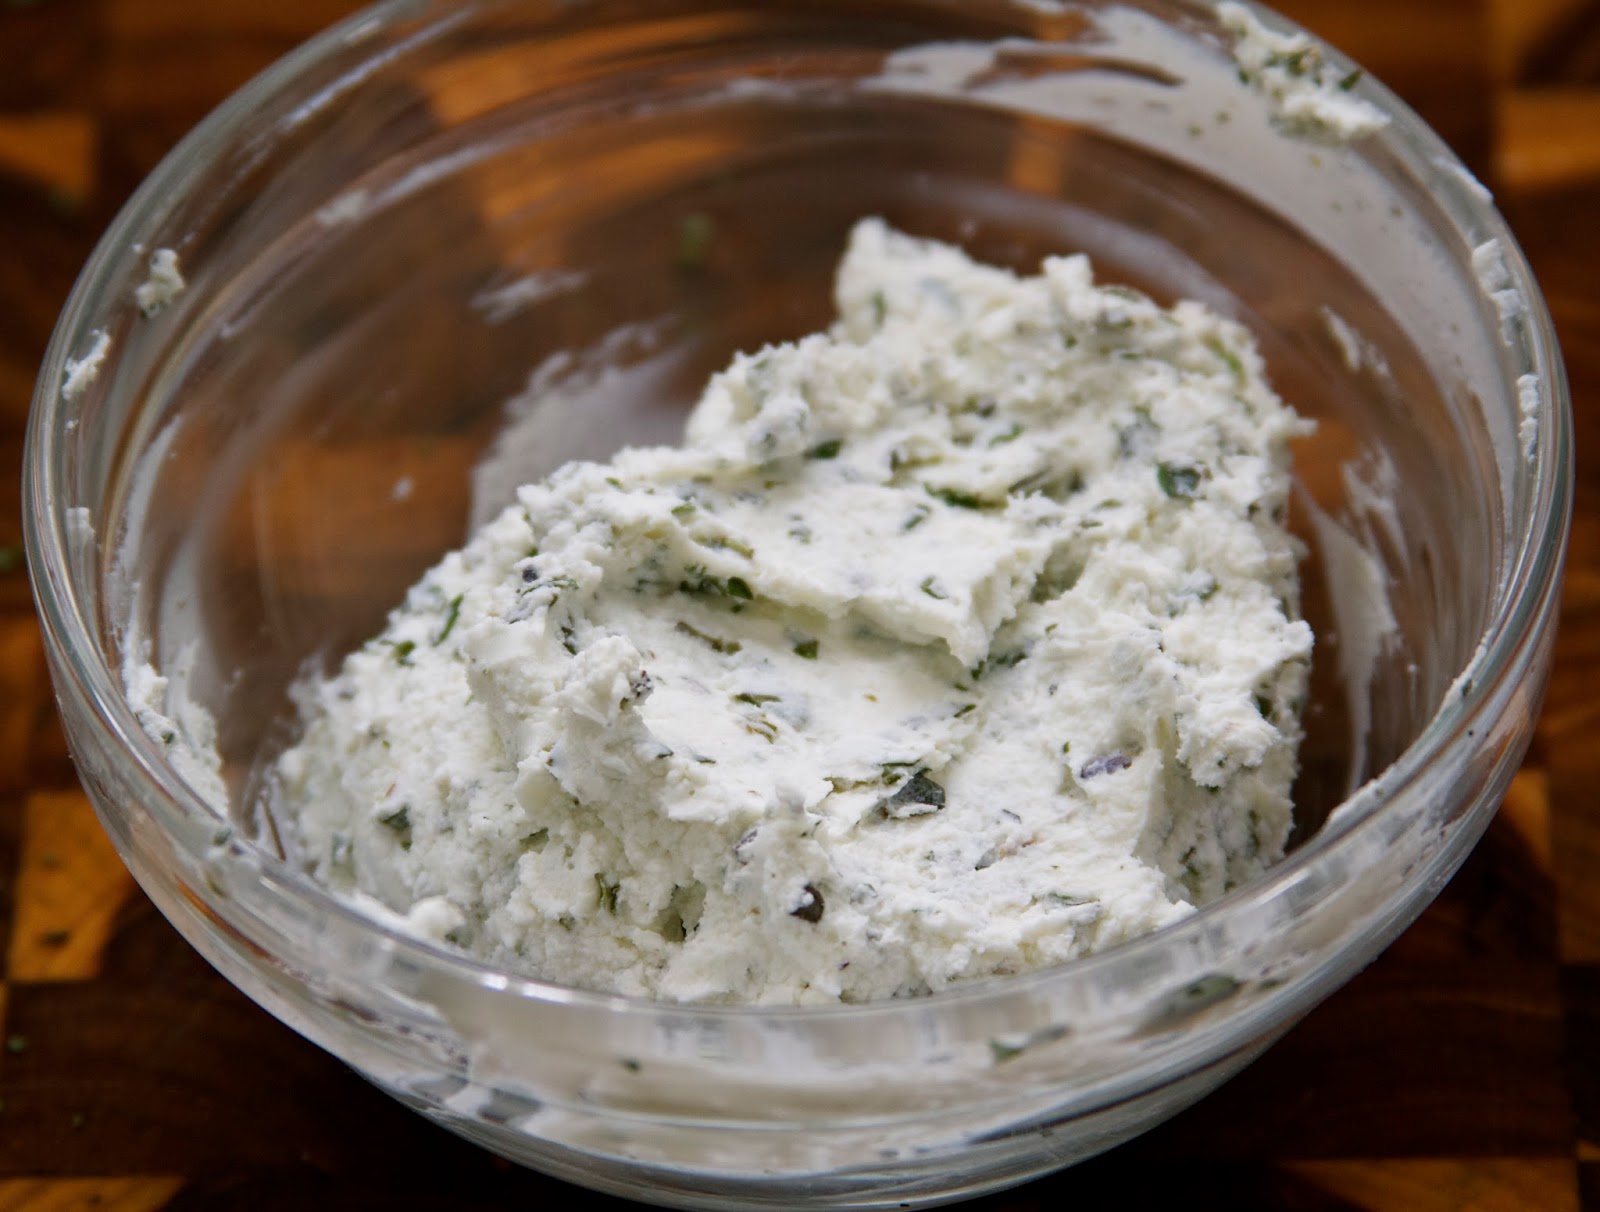
The original sandwich calls for a spread of truffle butter and freshly shaved parmesan.  Since truffle butter is an ingredient that necessitates a trip to a specialty store, I tend to skip it altogether.  I simply used a small package of goat cheese, mixed in fresh and dried herbs and spread it on the sandwich.  It couldn’t be easier!  Allowing the goat cheese to come to room temperature makes it soft and easy to stir in the herbs.

4 ounces goat cheese
1 tablespoon minced

fresh herbs: rosemary, thyme, basil, parsley, whatever you have on hand!
1/2 teaspoon Herbes de Provence
freshly ground black pepper

Add caption

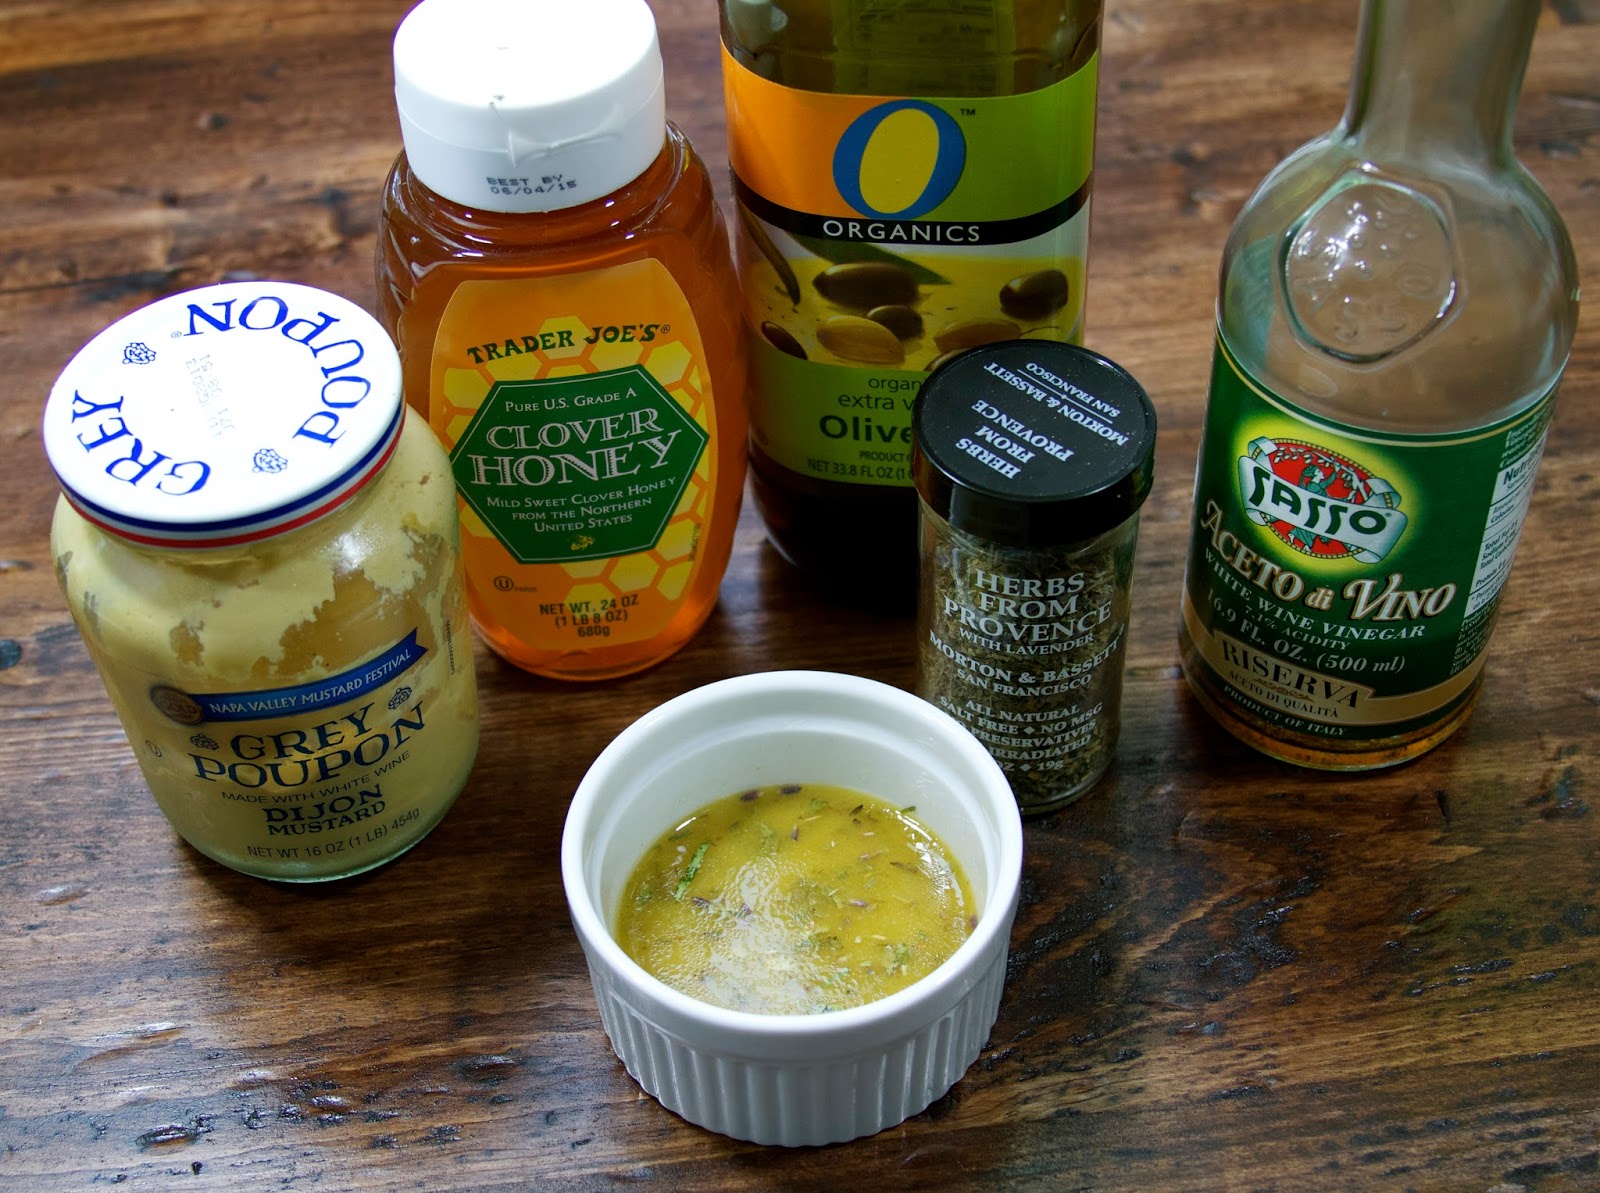
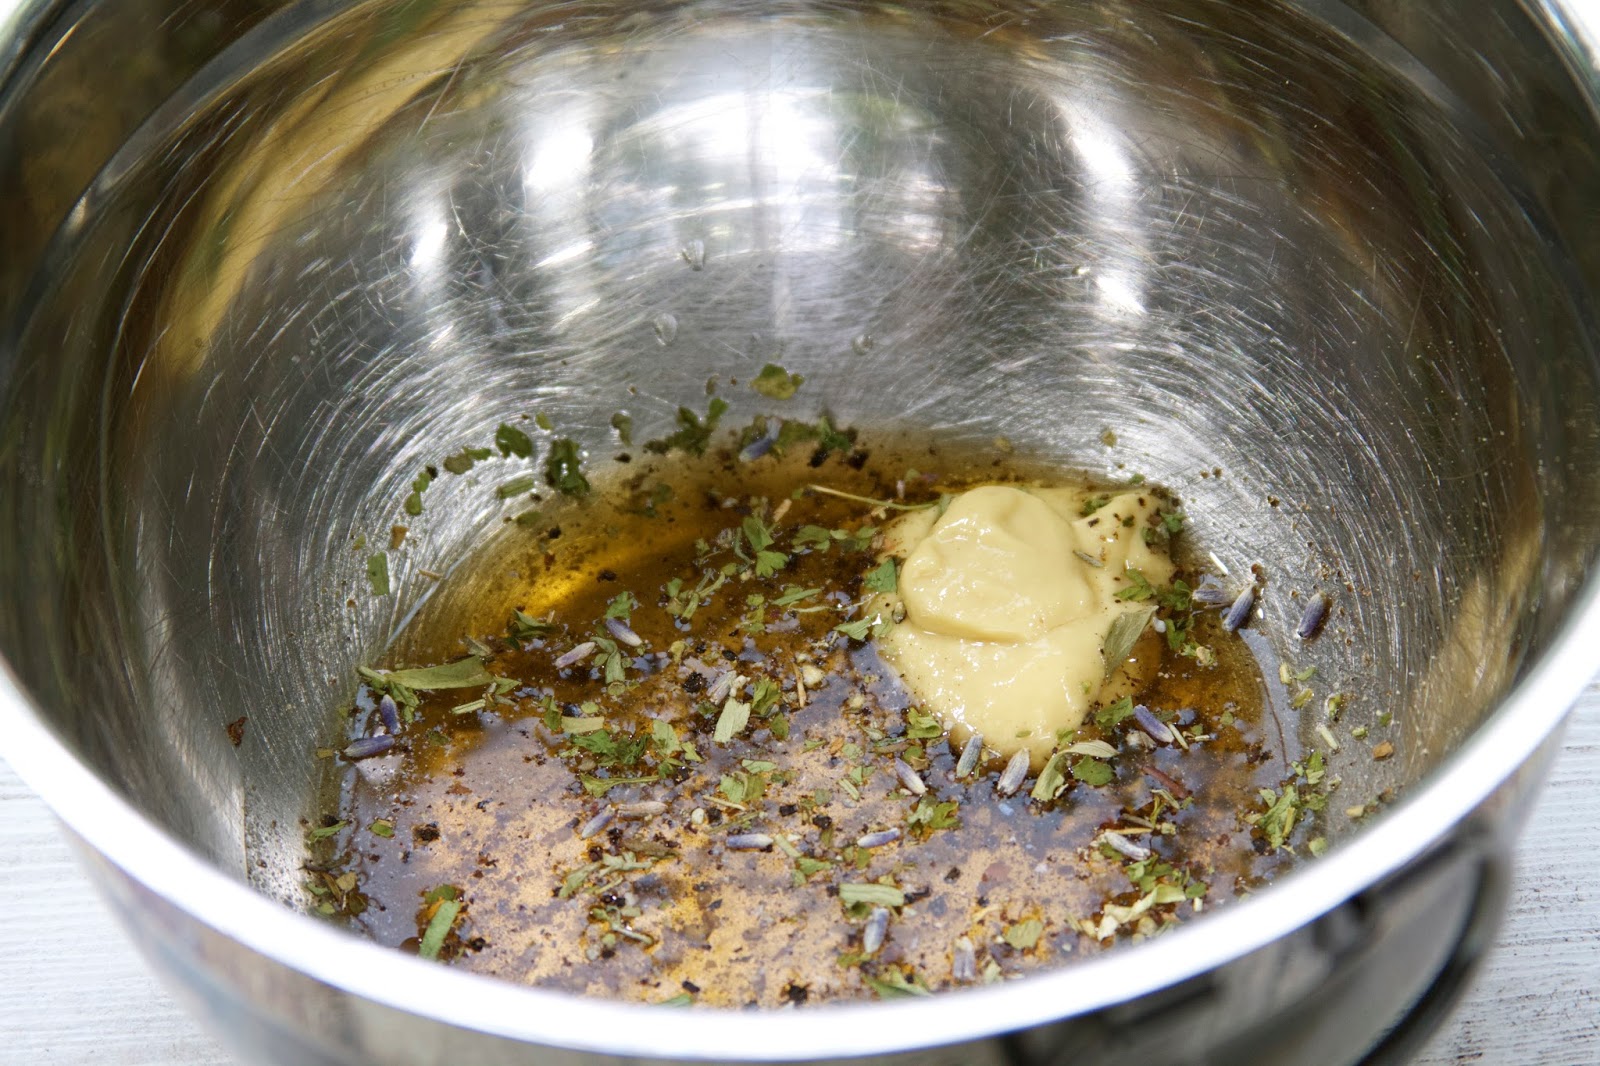
Finally, the sandwiches were topped with a handful of peppery, wild arugula that was dressed in a simple vinaigrette of white wine vinegar, dijon mustard, honey, olive oil and more Herbes du Provence.

3 tablespoons white wine vinegar
1 teaspoon dijon mustard
1 teaspoon honey
1/2 teaspoon herbes de Provence
3 to 5 tablespoons olive oil
salt and pepper

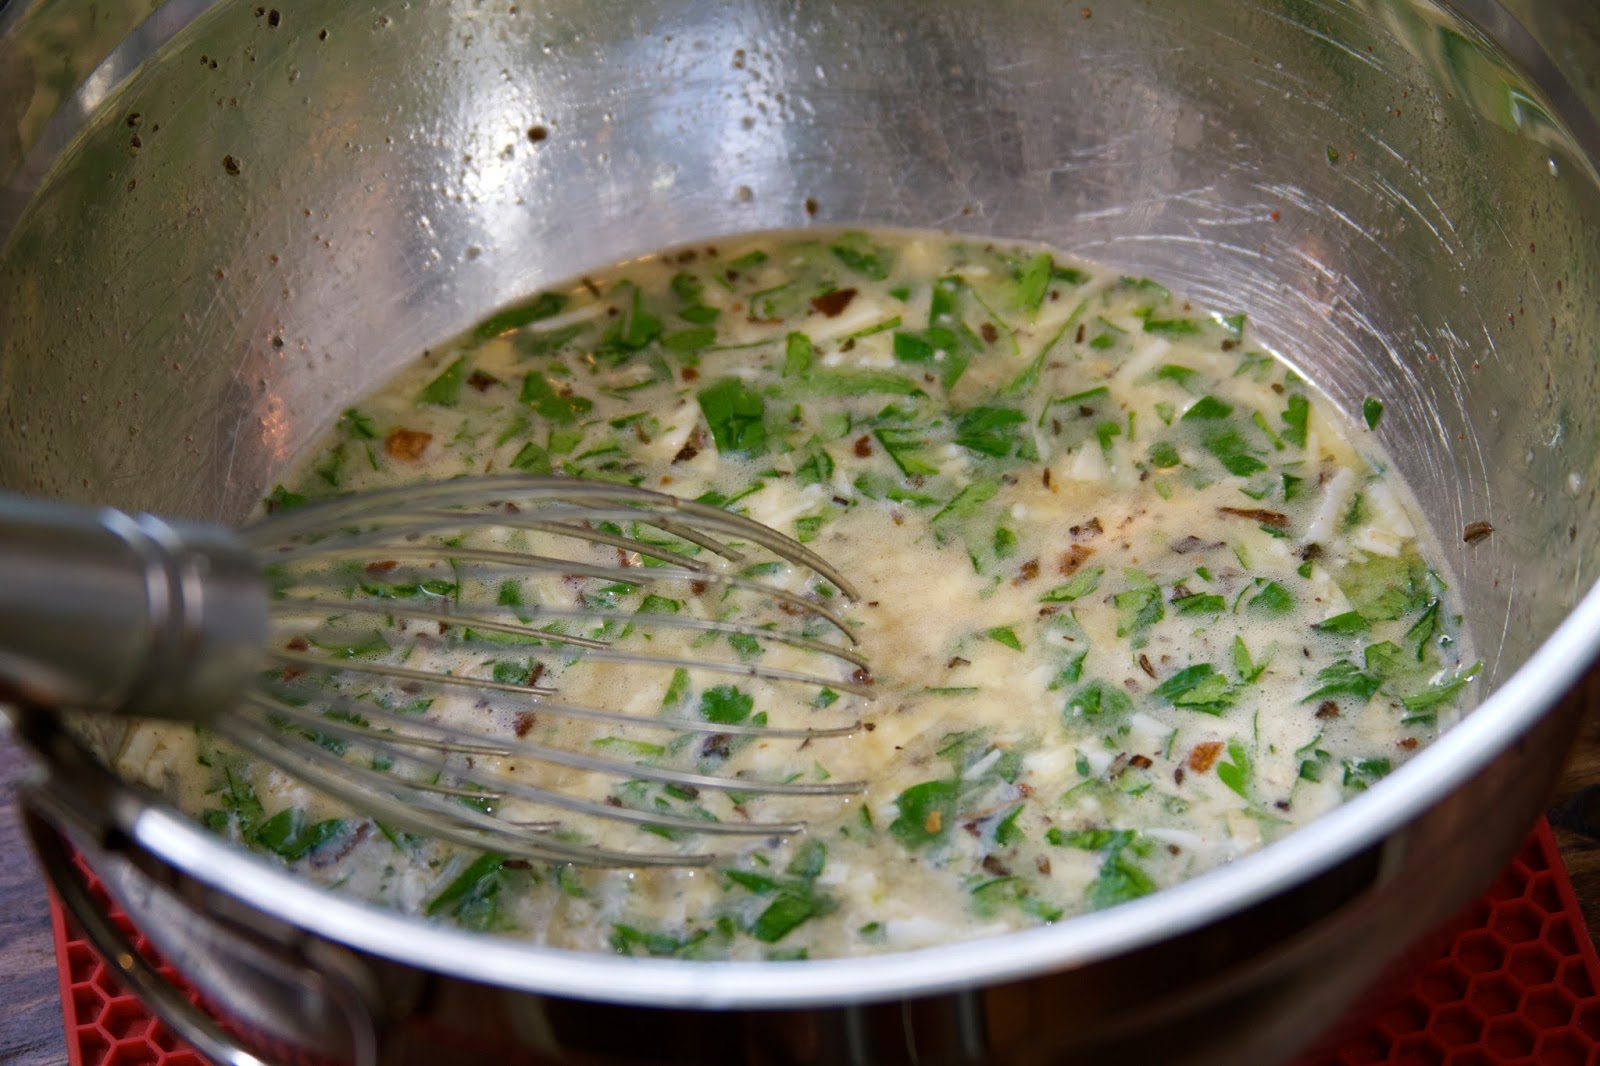
Whisk together the vinegar, dijon mustard, honey, herbes de Provence, a pinch of salt and pepper in a mixing bowl; then slowly pour in the olive oil, whisking until the dressing is throughly mixed.

Lightly dress the arugula with the vinaigrette.

Enjoy with a a nice glass of wine and a good eating partner!

Happy Labor Day!

Fig and Prosciutto Flatbread with Caramelized Onions and Balsamic Reduction

Remember the pizza dough recipe from last month? Well, since that recipe makes about three to four pizzas,  I froze the extra dough for later use and made a fortuitous discovery!  After thawing the dough and allowing it to come to room temperature, I was able to roll it out into a very thin crust that after baking, came out crispy and light–more like a flatbread than the chewier crust of the initial fresh batch of dough.  This is a great thing, as I love crisp flatbread, and I had just the right toppings for it.  You see, I had ventured to Whole Foods market last weekend to buy the fresh mushrooms for the Sizzling Mushrooms With Sage and Thyme and the first thing I saw was a display of black mission figs on sale for $2.99 per pint!  I was so excited to finally see figs in season that I immediately bought a pint without a second thought.   Now, I think figs are some of the most inspiring fruits–beautiful and exotic, they are subtly sweet, juicy, and pair well with savory elements.  Fig trees grow really well in our climate and while I would love to have one, I don’t think we could fit one more tree into our small backyard!

Aren’t they so pretty?

I had first planned to stuff the figs with goat cheese and wrap them in prosciutto, but that plan disappeared when I remembered that last ball of pizza dough that was thawing in the refrigerator. So, I made this flatbread instead topped with caramelized onions, those glorious figs, ricotta cheese, salty prosciutto and some of the leftover Sizzling Mushrooms!  The salty prosciutto perfectly balanced the sweetness of the figs and caramelized onions.  The ricotta cheese added richness and the fresh basil added brightness.  I finished the whole flatbread with a drizzle of balsamic vinegar reduction.  I can’t think of a better flavor combination!  I hope that figs are still available, because I’m already craving this flatbread.

One portion of pizza dough
6-10 figs, quartered
4-6 slices prosciutto
ricotta cheese
sautéed mushrooms
caramelized onions
fresh basil
balsamic reduction

This isn’t a recipe, because you can put anything on a flatbread that you enjoy.  I just loved this particular combination of ingredients, and I think you will, too!  First preheat your oven or grill to 500 degrees.   If using a pizza stone, place the stone on your oven or grill and allow it to preheat.  For this flatbread, I used a pizza grill pan, and I did not preheat the pan.  As I mentioned, I had some leftover pizza dough that I had frozen and then thawed.  Allow the dough to come to room temperature and with some extra flour sprinkled on your work surface, knead the dough into a ball and using a rolling pin, roll into a very thin round.  If using a pizza stone, place the dough round onto a piece of parchment paper on a pizza peel.  First, brush the dough with olive oil.  Then add the toppings.  I started with a layer of caramelized onions, then the mushrooms, figs, dollops of ricotta cheese, basil and prosciutto.  Bake in a hot oven or on the grill for 7 to 10 minutes, but watch it closely so that it doesn’t burn.  Garnish with more fresh basil and a drizzle of balsamic reduction.

Caramelized onions are quite easy, but they require patience.  To make them, slice an onion in half-moons and sauté with a drizzle of olive oil in a medium sized frying pan.  After the onions have cooked for about 5 minutes add a sprinkle of salt.  The most important thing to remember is to cook the onions on medium to low heat.  Caramelizing onions takes time–about 45 minutes, but cooking them slowly allows the onions to become sweet and dark golden brown.  If you rush the process, you risk having crunchy burnt onions.  So, get the onions started and then reduce the heat and use that time to do something else.  You don’t have to nurse the onions if the heat is low enough, just give them a stir every few minutes.

Top left: onions right after adding to the pan; top right: onions after 5 minutes; bottom left: onions after 20 minutes; bottom right: onions after 45 minutes

Balsamic reduction is also quite simple to make.  In a medium saucepan, add 2 cups of balsamic vinegar and 1/4 cup sugar and one bay leaf.  Bring the vinegar mixture to a boil and continue boiling until the mixture has reduced to half its volume.  Lower the temperature and simmer until the mixture becomes syrupy and thick and coats the back of a spoon.  Remove from heat and allow to cool.  Place the balsamic reduction in a glass jar and store in the refrigerator.  I’ve had my balsamic reduction for quite a few months and it’s almost time to make a new batch.  It is delicious spooned over fresh tomato salads, pizzas, whatever suits you!

Sizzling Mushrooms with Sage and Thyme

If you were to ask me to describe a perfect evening, I would describe our first night out with our closest friends on the first day of our vacation.  We spent the evening wandering around Portland, getting caught up on all the events of our year and sharing laughs over some amazing cocktails and nosh.  As the weather cooled and a soft rain began to fall, we ducked into one of our favorite haunts–the Driftwood Room at the Hotel DeLuxe, where we knew we could continue our conversation long after most other restaurants and bars had closed for the night (it was Sunday, after all).  The Driftwood Room is a dimly lit, cozy spot that evokes that sense that you’re about to star in your own Film Noir. The cocktails are so inventive and their “Bar Bites” serve as the perfect accompaniment.  We ordered the “Sizzling Forest Mushrooms” and they were incredible!  They arrived at our table in a little cast iron skillet, still sizzling from the broiler, earthy and fragrant and served with bread and cheese.

Of course, Oregon is known for its rich variety of forest mushrooms that might not necessarily be available locally, but I was determined to reinterpret this dish using mushrooms that are readily available at our local grocery store.  I used a combination of white mushrooms, oyster mushrooms, beech mushrooms and chanterelles.  I only bought a small handful of the chanterelles, because they are expensive:  $19.99 per pound!

To make great sautéed mushrooms, it is important to use as little water as possible in cleaning them, since they are already very moist.  Clean them gently with a damp cloth or paper towel and only run them under water if they are very dirty.  If you have to rinse them, dry them with a towel removing as much water as possible.  Cut the bottoms off of the mushrooms and slice them.  For oyster mushrooms, remove the entire stem and only use the caps as the stems can be very tough.

Sizzling Mushrooms with Sage and Thyme

  • Servings: 4
  • Difficulty: easy
  • Print

1 pound of assorted mushrooms (your choice), cleaned and chopped
1 tablespoon olive oil
1 tablespoon butter
1-2 tablespoons vermouth or white wine
salt
pepper
6 sage leaves, minced
2 sprigs thyme, minced

In a saucepan, melt one tablespoon of butter in about one tablespoons of olive oil on medium high heat.  When the oil is nice and hot, add about half of the mushrooms to the pan.  If there are too many mushrooms in the pan, the mushrooms will steam.  Add a sprinkle of salt and sauté  until the mushrooms have released their moisture.  Remove the first half of the mushrooms and sauté the second half in the same manner.  Add the first batch of mushrooms back to the pan along with the chopped herbs and vermouth.  Sauté until the liquid is absorbed and the mushrooms are fragrant. Serve immediately.  If the mushrooms cool down before you are ready to serve them, transfer them to a broiler-proof pan place in the broiler for a few minutes to get them hot and sizzling.

These mushrooms are excellent served with slices of baguette that have been drizzled with olive oil and grilled and then topped with a dollop of ricotta cheese!

Breakfast for Dinner: Frittata Española

As a kid, I would get so excited when my mother made breakfast food for dinner! There was just something exciting and extra special about having bacon, eggs and grits at night.  I know now that my mother was making breakfast at night because she was simply tired and couldn’t muster the energy for anything else!  But, to this day, I still love to eat eggs at dinnertime.

To continue with the inspiration from the tapas cooking class, I made this version of a “tortilla española”, which is a classic Spanish dish made of sliced potatoes, onions and eggs.  It is very similar to a frittata, the main difference being the technique in which the eggs are finished.  Both dishes consist of eggs and filling cooked in a frying pan on the stove, but a frittata is finished in the oven, whereas a tortilla española is flipped over so that the top of the eggs are finished in the frying pan.  Because I didn’t want to risk possible disaster trying to flip the tortilla over in the pan, I have made a tortilla española that is finished in the oven like a frittata.  Less mess and less chance for disaster to strike!  What’s also fun about this dish is that you can be creative and add whatever filling suits your fancy.

6 large eggs
6 small waxy potatoes, thinly sliced–I used a combination of red potatoes, yukon gold and purple potatoes
1 medium onion, thinly sliced in half-moons
handful of parsley, chopped
1/2 cup shredded Manchego cheese, plus an additional handful to sprinkle on top

1 teaspoon smoked paprika
grape tomatoes
chopped roasted red peppers
Juice of one lemon
olive oil
salt
pepper

Preheat the oven to 350 degrees.

Thinly slice the potatoes and cook in boiling, salted water for about 7-10 minutes or until they become tender but still hold their shape.  Be sure to generously salt the water, as this is an opportunity to season the potatoes.  Drain the potatoes when they are done.  In a non-stick frying pan, add about two tablespoons of olive oil and turn on medium heat.  Be generous with the olive oil, as the oil will allow the eggs to slide out of the pan more easily.  Add the sliced onions and sauté until the onions become translucent.  Add the potatoes and continue to cook for about 5 more minutes.  Don’t allow the potatoes to brown–you just want them to thoroughly cook and absorb the olive oil.  Season the onions and potatoes with a little salt and ground black pepper.

In a medium bowl, whisk together the eggs, parsley, salt, pepper, smoked paprika, manchego cheese and lemon juice.

Pour the egg mixture over the potato and onions in the frying pan.  Tilt the frying pan until the eggs evenly cover the potatoes.  Cook on medium heat until the eggs are set around the edges.

At this point, I sprinkled chopped grape tomatoes and roasted red peppers on top of the egg mixture.  Place in the preheated oven and cook until the eggs are completely set–about 30 minutes.  In the last 5 minutes, add a sprinkle of manchego cheese and cook until melted.

After the eggs are completely set, allow the tortilla to cool for at least 10 to 15 minutes.  If desired, after the eggs have rested, take a plate and cover the top of the frying pan.  Flip the tortilla out of the pan and onto the plate (it will be upside down), and then flip the tortilla right side up onto a serving plate.  You can omit this step altogether, if you prefer and just slice and serve the tortilla from the frying pan.

I served the tortilla with a simple arugula salad and it made a great light dinner.  This dish would also be fantastic for brunch as well!

Marinated Olives and White Bean Hummus

While on vacation in Portland, The Man and I took a Spanish Tapas cooking class at Hip Cooks.  Besides having a lot of fun and learning some new techniques, we came home with some new recipes and fresh inspiration for a few dishes that we were already familiar with.

It’s funny, but I can remember a time when I didn’t like olives at all.  They just weren’t part of our family’s diet and the only time I was ever exposed to them was when they ended up on a pizza (by mistake, I’m sure).  When I was eighteen years old, I decided that being olive-averse was unacceptable and determined once and for all I was going to learn to like them. So, from that point on, every time I had the opportunity to eat an olive, I did.  And little by little, I learned to love them.  Now I can’t imagine life without them! My favorite olives are Castelvetrano olives. I love them as much for their neon green color as for their buttery flavor!

These marinated olives could not be more simple and they are perfect to serve with cocktails and appetizers.  I used a variety of pitted and stuffed olives and there are so many varieties out there that the possibilities are endless.  Just remember to make them ahead of time to allow them to marinate–at least overnight, as their flavor improves the longer they sit.

2-3 jars of olives in brine, drained.  I used a jar of garlic and jalapeño stuffed olives, a jar of olives stuffed with red peppers and a handful of kalamata olives.

4 cloves of garlic, minced
zest of one lemon
a few sprigs of parsley, chopped
4 cherry peppers, seeded and sliced
1/4 teaspoon red pepper flakes
olive oil

The cherry peppers and red pepper flakes are optional, but they add a nice, spicy kick to these olives.  Combine all of the ingredients together in a medium sized bowl and refrigerate at least overnight if not longer.  Before serving, allow the olives to come to room temperature.   

While hummus is typically made with chickpeas and tahini, I’ve made this very simple hummus with white beans (one can of cannelini beans and one can of navy beans) and left out the tahini.  The white beans have a softer texture than chickpeas and I found that it takes less olive oil to create a creamy texture. It is such a simple recipe and we have been snacking on it almost every day with cucumber slices, which makes it a very healthy snack!

2 cans of white beans, drained
3 large cloves of garlic, minced
Juice of one lemon
3/4 teaspoon kosher salt
1/2 teaspoon cumin
2 tablespoons olive oil
freshly ground black pepper, to taste

In a food processor, mince the garlic, then add the beans, lemon juice, cumin, salt, pepper and olive oil. Puree until smooth.  I topped the hummus with a mixture of roasted red pepper, capers, a splash of white wine vinegar, olive oil and fresh chopped parsley.

The cucumber sticks are simply small persian cucumbers cut into quarters and dressed with a squeeze of lemon, fresh chopped parsley and a sprinkle of sea salt.