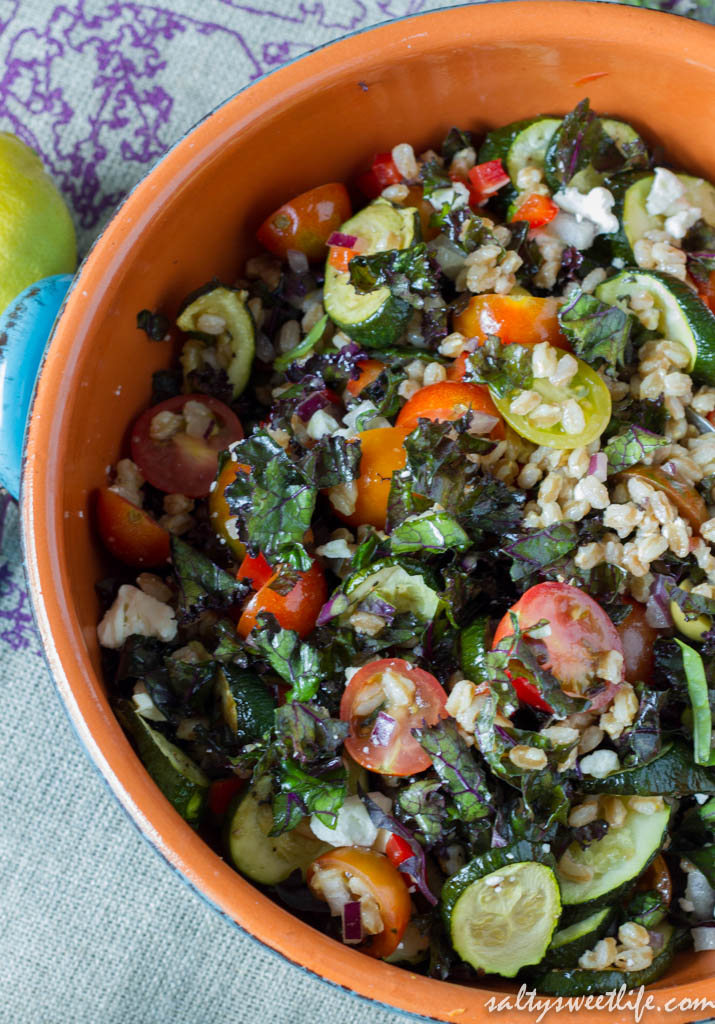
We unintentionally brought home a human-baby sized zucchini from the Portland Farmer’s Market. I swear, I had every intention of returning this behemoth to its rightful owners (our friends who purchased it for all of $2) but this zucchini had other plans and instead managed to stow away in my suitcase headed for the bright lights of Las Vegas–sorry Janette! We spent almost all day Memorial Day making things with this giant zucchini! First I made a casserole with the ingredients you see pictured below. That was tasty, but not quite tasty enough to share with you yet. Then we made a zucchini pizza with parmesan, basil pesto and olives. Now, that was really tasty and I’ll be sharing that one soon. But this recipe for “Turkey & Zucchini Burgers with Green Onion and Cumin” from the cookbook “Jerusalem” by Yotam Ottolenghi and Sami Tamimi was the clear winner. Can you believe I was able to get three entire dishes from one giant zucchini?
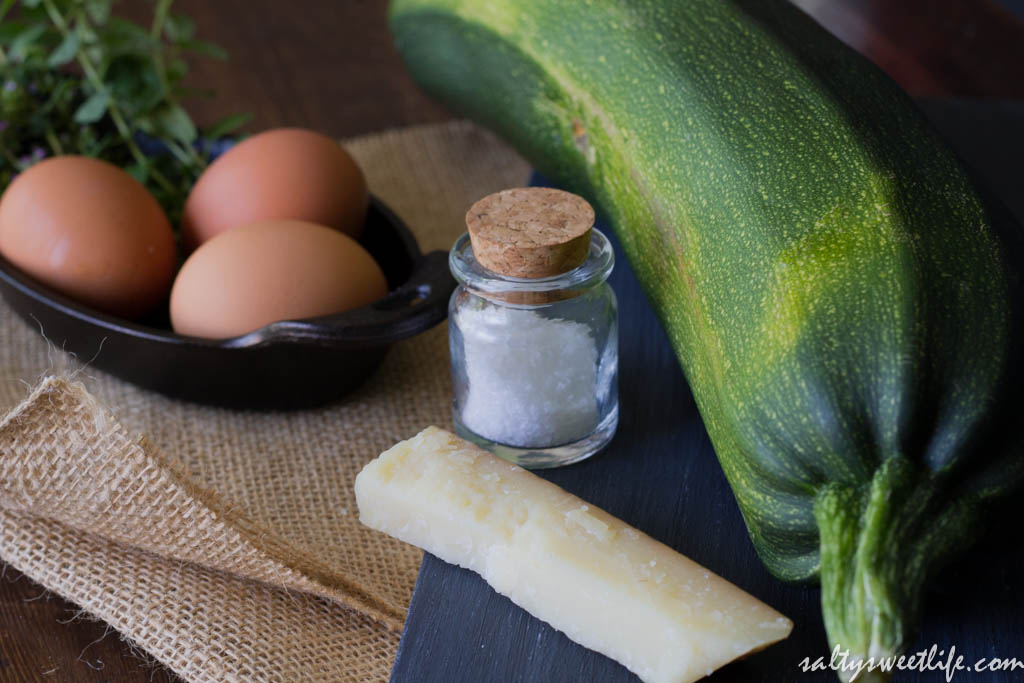
I mean, look at the size of that thing! 5 pounds, easily!
I have had this cookbook for a few months now and so far I’ve just been drooling over the recipes in it. I’m so glad I stopped drooling and finally made a recipe from it! What excited me most (as always) was that I had everything available and didn’t have to go to the grocery store! Win! Turkey meat is characteristically bland, but it’s also low in fat. What’s great about turkey burgers is that they are almost impossible to over-season. This recipe calls for lots of fresh herbs and what you’re left with is a perfectly seasoned patty that you can cloak in a bright, lemony tzatziki sauce and fold into a crisp lettuce leaf! I have included the measurements from the original recipe, but know that I am heavy handed with herbs, so I may have used a little more than what was called for. As I said, it’s almost impossible to add too much flavor to ground turkey so don’t worry about being too precise! Also, in place of store-bought ground cayenne pepper, I used cayenne peppers that we grew, dried and ground last summer. So flavorful!
The original recipe recommended frying the turkey burgers in oil and finishing them in the oven. I had planned to grill the turkey burgers, but quickly learned that there was a very good reason for the recommended cooking method! These burgers are very loosey-goosey. Downright sloppy. They don’t hold their shape well enough to stay intact on the grill. I was able to grill a few of them, but they stuck to the grates even though I oiled both the grates and the burgers themselves. I’m not saying you can’t grill them, but if you do, just be prepared to feel annoyed by your choice. Another thing I learned was that the best pan to fry them in is a simple cast iron skillet–you know, the kind your grandmother used. I made most of the burgers in an enameled cast iron pan using the amount of oil recommended in the original recipe. That worked just fine, but I discovered that using the black (non-enameled) cast iron frying pan allowed me to use very little oil and the burgers seared gorgeously.
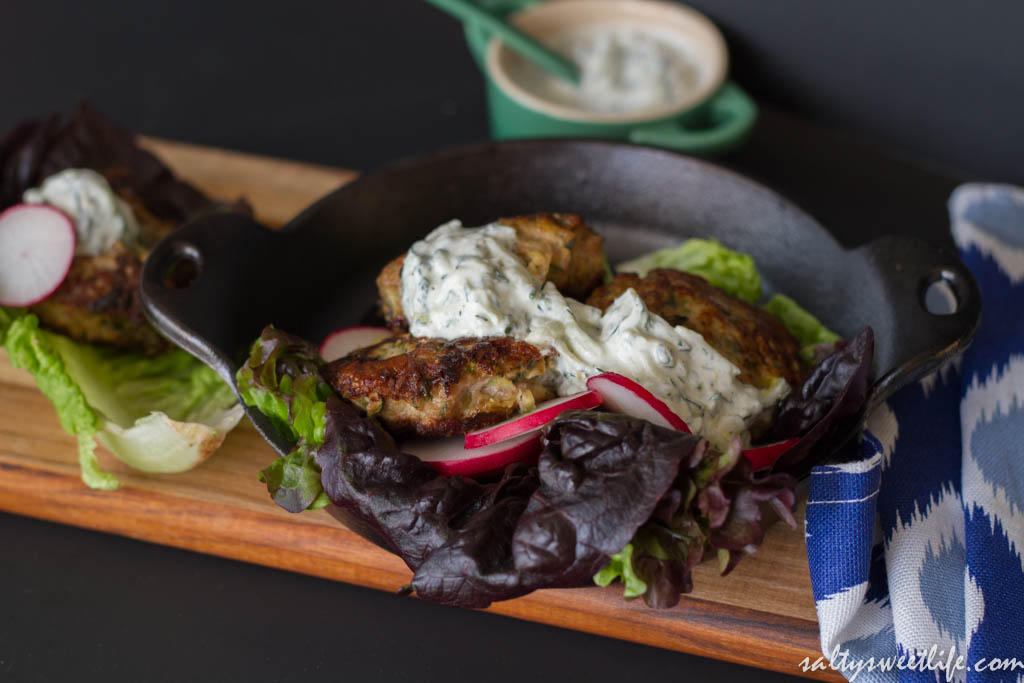
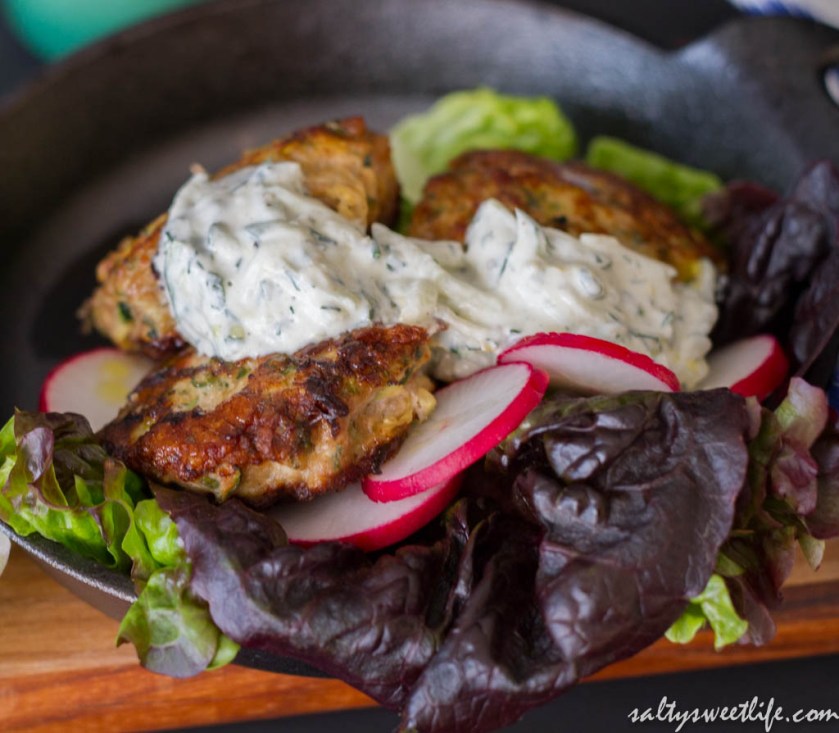
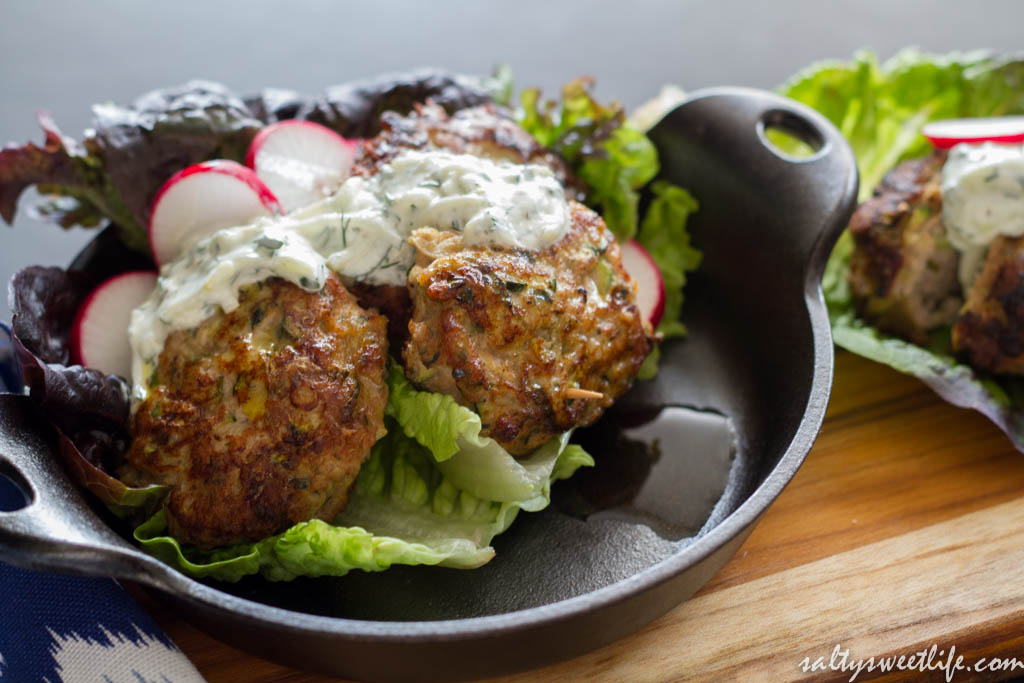
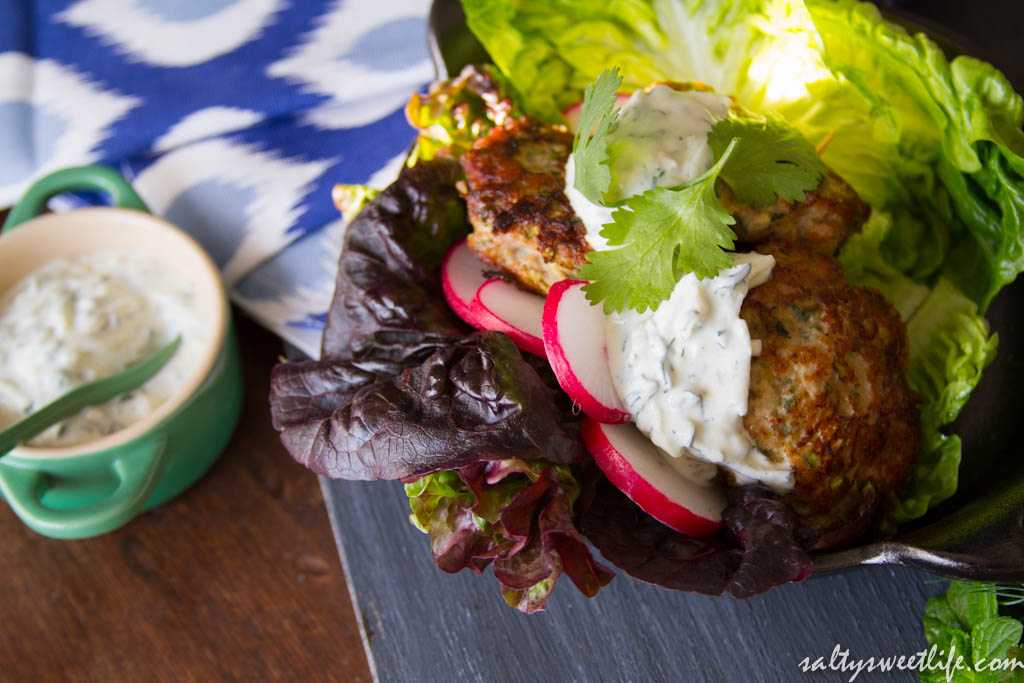
I served the burgers in lettuce cups with crunchy sliced radishes and a creamy tzatziki sauce that I made on the fly!
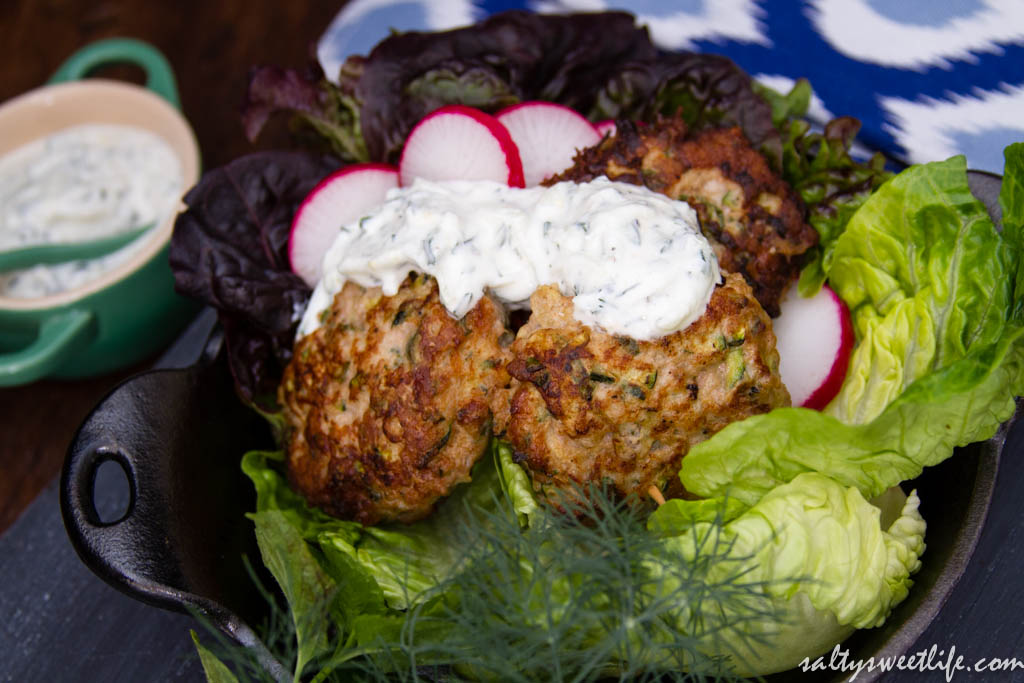
Mini Turkey-Zucchini Burgers with Tzatziki Sauce
Adapted from: Jerusalem, A Cookbook, Yotam Ottolenghi and Sami Tamimi
Preheat the oven to 425 degrees.
- 1 pound ground turkey
- 2 cups of grated zucchini
- 3 green onions, sliced thinly
- 1 large egg
- 2 tbsp fresh mint, chopped
- 2 tbsp fresh cilantro, chopped
- 2 cloves garlic crushed
- 1 tsp cumin
- 1 tsp salt
- 1/2 teaspoon freshly ground black pepper
- 1/2 teaspoon cayenne pepper or crushed red pepper
- Coconut oil for frying
For the Sauce
- 1/2 large cucumber, seeded and grated
- 1 tbsp fresh mint leaves, chopped
- 1 tbsp fresh dill, chopped
- 1/2 cup sour cream (I used full fat sour cream)
- 2/3 cup Greek yogurt
- zest of one lemon
- juice of 1/2 lemon
- three-finger pinch of kosher salt
- freshly ground black pepper
- drizzle of olive oil
- First make the sauce. Slice the cucumber in half and with a spoon, scoop out the seeds and discard. With a food processor fitted with the grating disc, grate the cucumber. If you do not have a food processor, simply grate the cucumber with a box grater. Place the grated cucumber in a bowl and sprinkle with a three-finger pinch of salt. Allow the cucumber to sit undisturbed for about 10 to 15 minutes while you work on the rest of the sauce. The salt will cause the cucumber to release its water.
- Combine the rest of the ingredients in a medium sized bowl. After the cucumber has rested, drain the water from the cucumbers and add the drained cucumber to the sauce. Place the sauce in the refrigerator to allow the flavors to mingle.
For the turkey burgers:
- Grate the zucchini using the food processor or with a box grater. Combine the zucchini with the turkey meat and the remainder of the ingredients (except the oil) in a large mixing bowl. Thoroughly mix the meat with your hands (I know, it’s sticky and messy but your hands really are the best mixers). Shape into 2 inch patties and set them aside on a plate or cutting mat in a single layer. Refrigerating them for about 20 minutes prior to cooking makes them a little firmer and easier to handle.
- Heat about 2 tablespoons of coconut oil in the frying pan over medium heat until very hot. Cook the patties in batches, being careful not to crowd them. I cooked about six at one time. Place the patties in the frying pan and sear for two minutes on each side until golden brown and use additional oil if needed. Transfer the patties to a sheet pan lined with parchment paper and place into the hot oven for 5 to 7 minutes until cooked through.
These burgers were a great light dinner for us! We had enough for dinner that night and leftovers for lunch the next day!
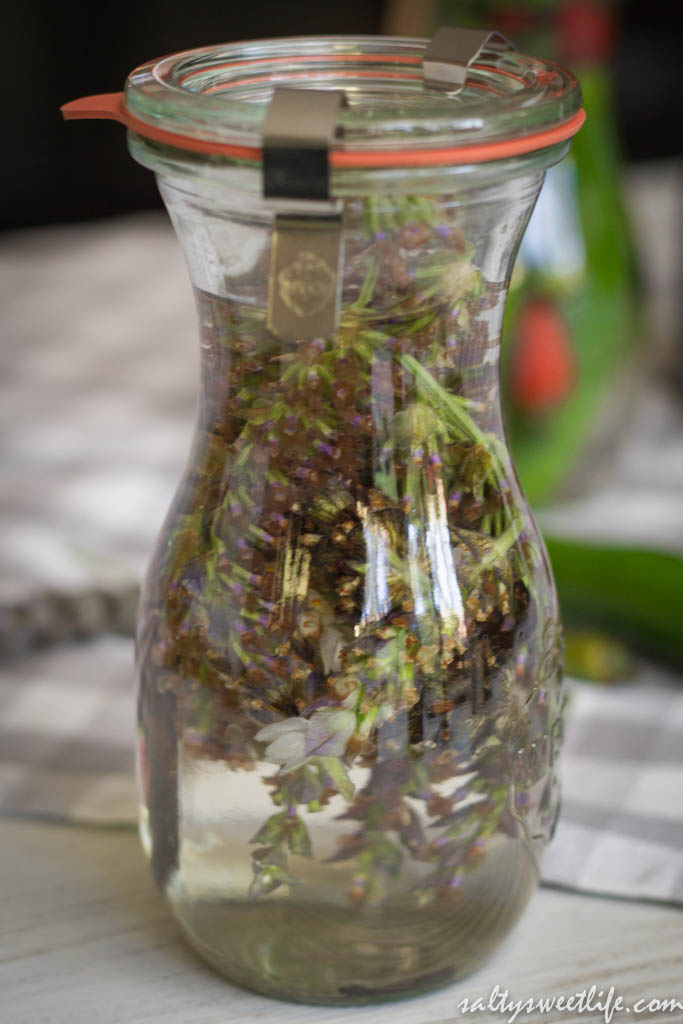
Oh, and another thing that makes me happy is that my herb garden is bursting with all the fresh herbs that I need for cooking! I always do a little happy dance when I don’t have to buy herbs from the grocery store any more (except for cilantro which I cannot seem to grow, ever).